NativeScript Preview Quick Start - Torch 🔦
Explore your device flashlight capabilities with NativeScript Preview 2.0 from the comfort of StackBlitz.
NativeScript Preview takes the concept of accelerating native mobile development by giving you platform APIs in the most popular programming language in the world, JavaScript. This puts you on a rocket ship. Being able to circumvent local development constraints and jump straight to trying out a native API with immediate feedback is a game changer!
To illustrate this new workflow, we will give you a "Hello World" type example that toggles the phone's torch on and off in just a few lines of code.
The Demo
To get a quick, high-level snapshot view of how NativeScript Preview works, you can read about it on our main page at this link.
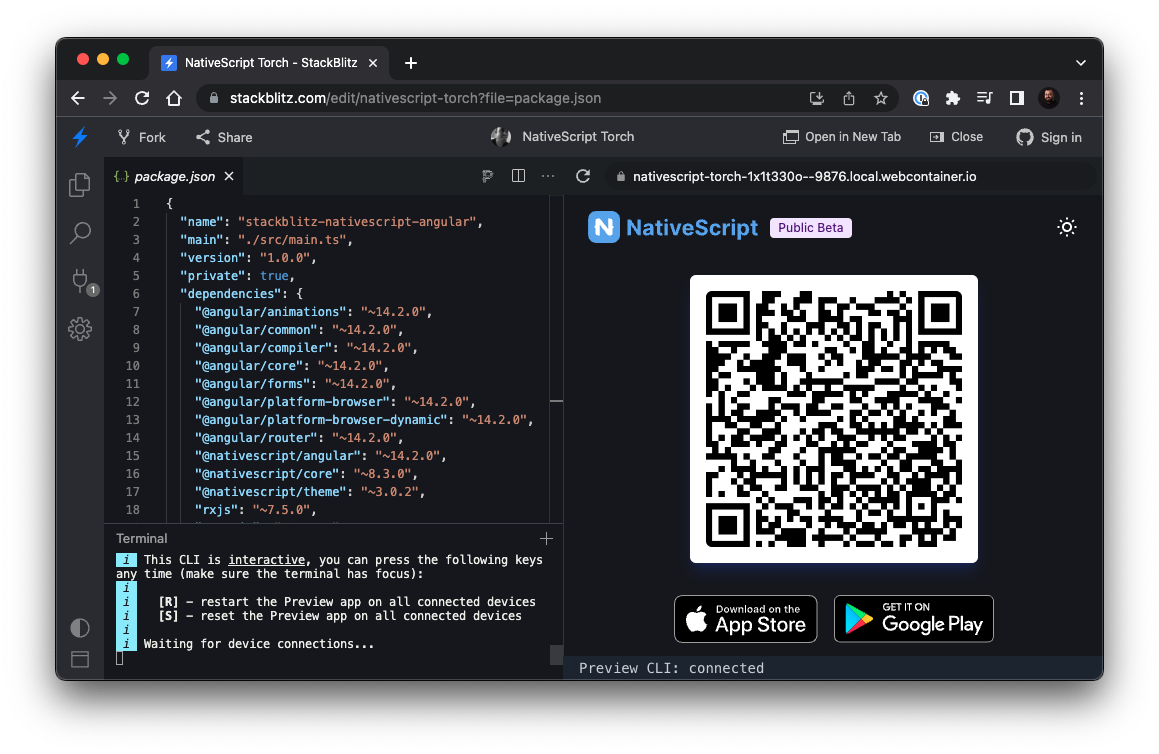
In a nutshell, you will download the NativeScript Preview app for your device and then scan the QR code in the StackBlitz project, pushing that application to your phone. Then, as you edit your application, those changes will be pushed to your phone in realtime. Pretty cool!
The example we want to demo is in the link below and let’s go!
The Setup
There are a few notable details that we want to call out as you look through the application. We want to call out the NativeScript-specific pieces so you can understand how much (or little) code you need to write a mobile application.
The App Module
To give our Angular application native powers, we first need to wire up the NativeScriptModule into our main module.
We accomplish this by importing NativeScriptModule from '@nativescript/angular' and then adding it to the imports in the NgModule configuration object.
import { NgModule, NO_ERRORS_SCHEMA } from '@angular/core'
import { NativeScriptModule } from '@nativescript/angular'

import { AppRoutingModule } from './app-routing.module'
import { AppComponent } from './app.component'
import { TorchComponent } from './torch.component'

@NgModule({
  bootstrap: [AppComponent],
  imports: [NativeScriptModule, AppRoutingModule],
  declarations: [AppComponent, TorchComponent],
  providers: [],
  schemas: [NO_ERRORS_SCHEMA],
})
export class AppModule {}
The Routing Module
We make the bold assumption that every non-trivial application will have more than one route, so we will also update our routing module. This will follow the standard convention for declaring routes, with the only difference being that we are importing and initializing NativeScriptRouterModule in our NgModule configuration object.
import { NgModule } from '@angular/core'
import { Routes } from '@angular/router'
import { NativeScriptRouterModule } from '@nativescript/angular'

import { TorchComponent } from './torch.component'

const routes: Routes = [
  { path: '', redirectTo: '/torch', pathMatch: 'full' },
  { path: 'torch', component: TorchComponent },
]

@NgModule({
  imports: [NativeScriptRouterModule.forRoot(routes)],
  exports: [NativeScriptRouterModule],
})
export class AppRoutingModule {}
The Torch
The TorchComponent is entirely an Angular construct which is pretty incredible when you consider what you are getting in return. In the snippet below, we have a basic button that responds to a tap event and calls toggle.
<GridLayout>
  <Button
    text="Toggle Torch"
    class="btn-primary"
    width="300"
    (tap)="toggle()"
  ></Button>
</GridLayout>
In the component class, we call toggleDeviceTorch and pass in the local enabled state. So how does the torch get activated? This is where things get a bit more interesting.
import { Component } from '@angular/core';
import { toggleDeviceTorch } from './torch';

@Component({
  selector: 'ns-torch',
  templateUrl: './torch.component.html',
})
export class TorchComponent {
  enabled = false;

  toggle() {
    this.enabled = !this.enabled;
    toggleDeviceTorch(this.enabled);
  }
}
Notice that we are importing toggleDeviceTorch from ./torch which will serve as the next stop in our journey.
The Toggle
Inside the ./torch directory, we have three files. First, we have an index.d.ts which is basically a type definition file. And then, we have index.android.ts and index.ios.ts, which can be a real "ah ha!" moment for developers new to NativeScript. The inevitable question arises around where is the logic that switches between iOS and Android? Good question, and the answer is that NativeScript handles this all for you under the hood. It will generate platform-specific bundles and automatically prune code targeting other platforms.
export declare function toggleDeviceTorch(enable: boolean);
We are not going to dig into the platform-specific API details but let's take a quick look at the iOS and Android versions of toggleDeviceTorch.

iOS Torch
Notice that each platform implementation follows the TypeScript definition, which makes it possible to swap between one platform or another seamlessly. With that said, we are instantiating an AVCaptureDevice instance and storing that reference as device. From here, we can check to ensure that the device has a torch perchance we are running on an emulator. If so, we unlock the device for configuration and depending on the enable parameter, we turn the torch on or off. Not bad for just a few lines of code!
export function toggleDeviceTorch(enable: boolean) {
  const device = AVCaptureDevice.defaultDeviceWithMediaType(AVMediaTypeVideo);
  if (device?.hasTorch) {
    device.lockForConfiguration();
    if (enable) {
      device.setTorchModeOnWithLevelError(1.0);
    } else {
      device.torchMode = AVCaptureTorchMode.Off;
    }
    device.unlockForConfiguration();
  }
}
We encourage everyone to check out the platform docs and compare the NativeScript with the native API. You can see the iOS documentation here.
Android Torch
The Android version is a little more concise but follows a similar principle. We are getting a reference to the Android application context and then using that context to get a reference to the camera service. From there, we get a reference to the camera itself and then call setTorchMode on or off based on the enable property.
import { Utils } from '@nativescript/core';

export function toggleDeviceTorch(enable: boolean) {
    const appContext = Utils.android.getApplicationContext();
    const cameraManager = appContext.getSystemService(
      android.content.Context.CAMERA_SERVICE
    );
    const camera = cameraManager.getCameraIdList()[0];
    cameraManager.setTorchMode(camera, enable);
}
You can view the Android documentation here.
In Conclusion
It's a neat moment when developers experience realtime updates from StackBlitz to their device and realize the power of native platform APIs is right at their fingertips. The goal is for rich platform development to feel as natural as any JavaScript app development you're already comfortable with.
We hope you enjoyed the torch demo.