How to build and run the latest NativeScript CLI version from GitHub
Since NativeScript is an open source project, you may have been wondering how you can get the repository to your local machine and start contributing. Or perhaps you just want to try out the latest features that are scheduled to come out in the next release. Either way, I’m going to show you how you can grab the latest and greatest bits from the nativescript-cli repository on GitHub and be able to run multiple versions of the CLI on your machine.

Since NativeScript is an open source project, you may have been wondering how you can get the repository to your local machine and start contributing. Or perhaps you just want to try out the latest features that are scheduled to come out in the next release. Either way, I’m going to show you how you can grab the latest and greatest bits from the nativescript-cli repository on GitHub and be able to run multiple versions of the CLI on your machine.
Questions
Do you have your SSH key generated and saved in your GitHub account? If you don’t know what I’m asking here, then definitely read on.
Do you have Grunt installed? Grunt is required to build the TypeScript code and is really easy to install. If you don’t have it installed, start at Step 1. Otherwise, you can go to Step 2.
Steps
- Install Grunt
- Clone the nativescript-cli repository
- Generate SSH key and register it with GitHub
- Update Git submodule
- Install NPM packages and build
Step 1: Install Grunt
If you already have Grunt installed, then you can skip this step. For those of you that don’t have Grunt installed, you can run the following command. If you’re on a Mac or Linux machine, then you should install as root using the sudo command. If you’re on Windows, then you don’t have to use sudo.
sudo npm install grunt -g
Step 2: Clone the NativeScript CLI Repository
You want to get the latest available code from the code repository hosted on GitHub so you can run the CLI. Go to the directory where you keep your precious code and run the following
This creates the nativescript-cli directory for you and downloads all the code from GitHub
Change to this new directory
cd nativescript-cli
Step 3: Generate SSH key and register it with GitHub
Are you already a GitHub ninja and have SSH keys stored in your GitHub account? If so, then review this step and go to the next one. If you don’t know what I’m talking about here, we need to use the smart Git protocol which requires your account to be signed with a key. Here’s what you have to do.
Generate a key using your GitHub account email address
ssh-keygen –t rsa –b 4096 –C [email protected]
When you’re asked to enter the file in which to save the key, the default will be ../.ssh/id_rsa. Go ahead and use the default. You’ll also be asked to enter a passphrase. Please remember what you type here as you’ll definitely need it.
Verify that the SSH Agent is running
eval “$(ssh-agent -s)”
If the agent is running, the process ID will be output to the console.
Add the SSH key to the SSH Agent
ssh-add ~/.ssh/id_rsa
This step will ask you for your password that you remembered in the last step. You did remember the password didn’t you?
Add the new SSH public key to your GitHub account
Copy the contents of the public key file to your clipboard
pbcopy < ~/.ssh/id_rsa.pub
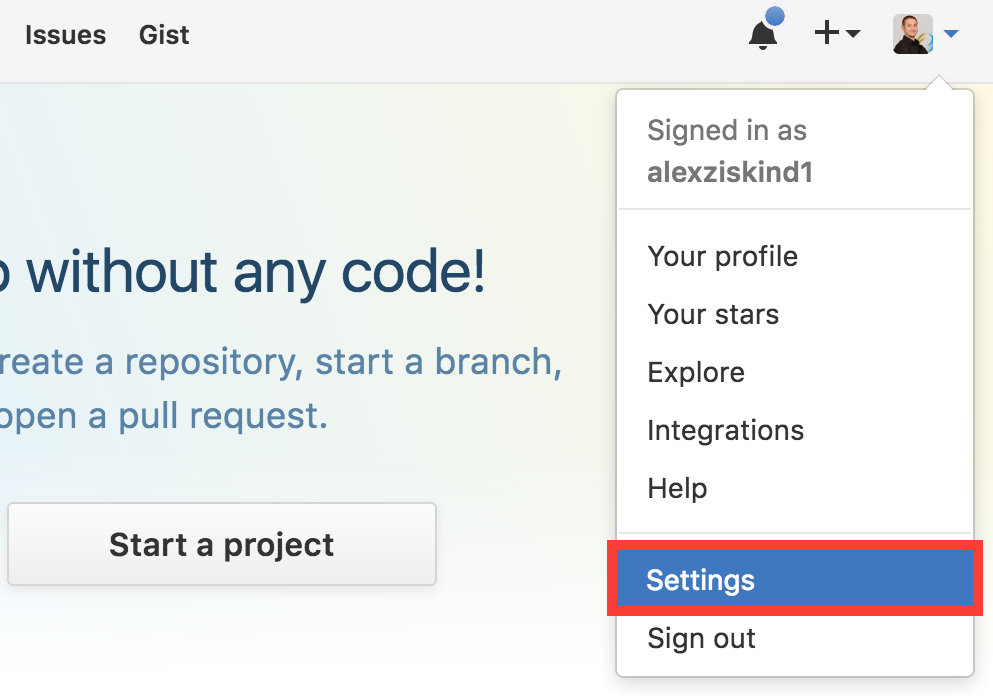
Go to your GitHub account, then find “Settings” in the dropdown that has your picture
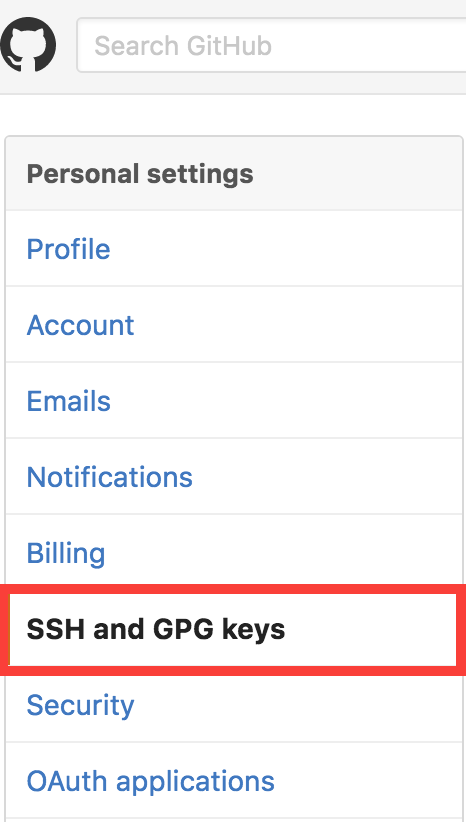
On the settings page, click on the “SSH and GPG keys” menu item in the left pane.
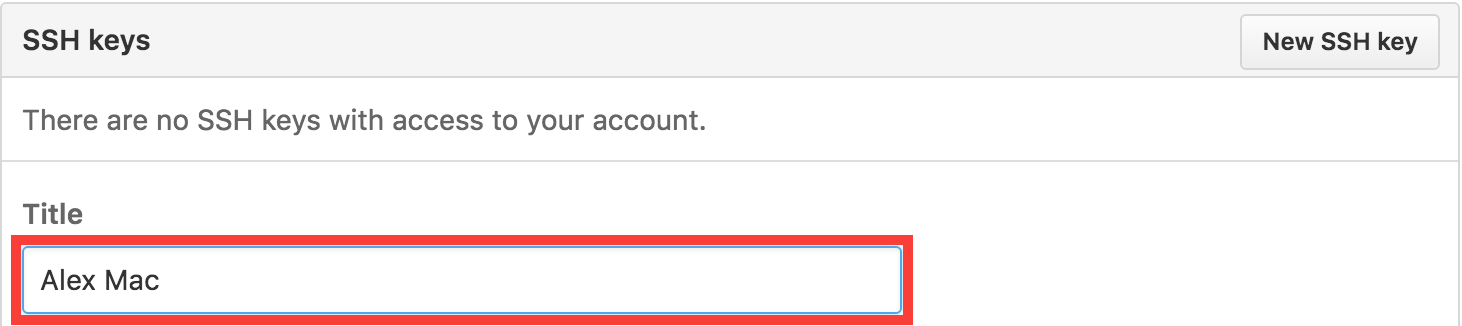
Click on the “New SSH key” button

Give your key a title, I usually go with my machine name, so “Alex Mac”
Paste your clipboard contents into the “Key” field. It should look something like this, but with your own public key information, of course.
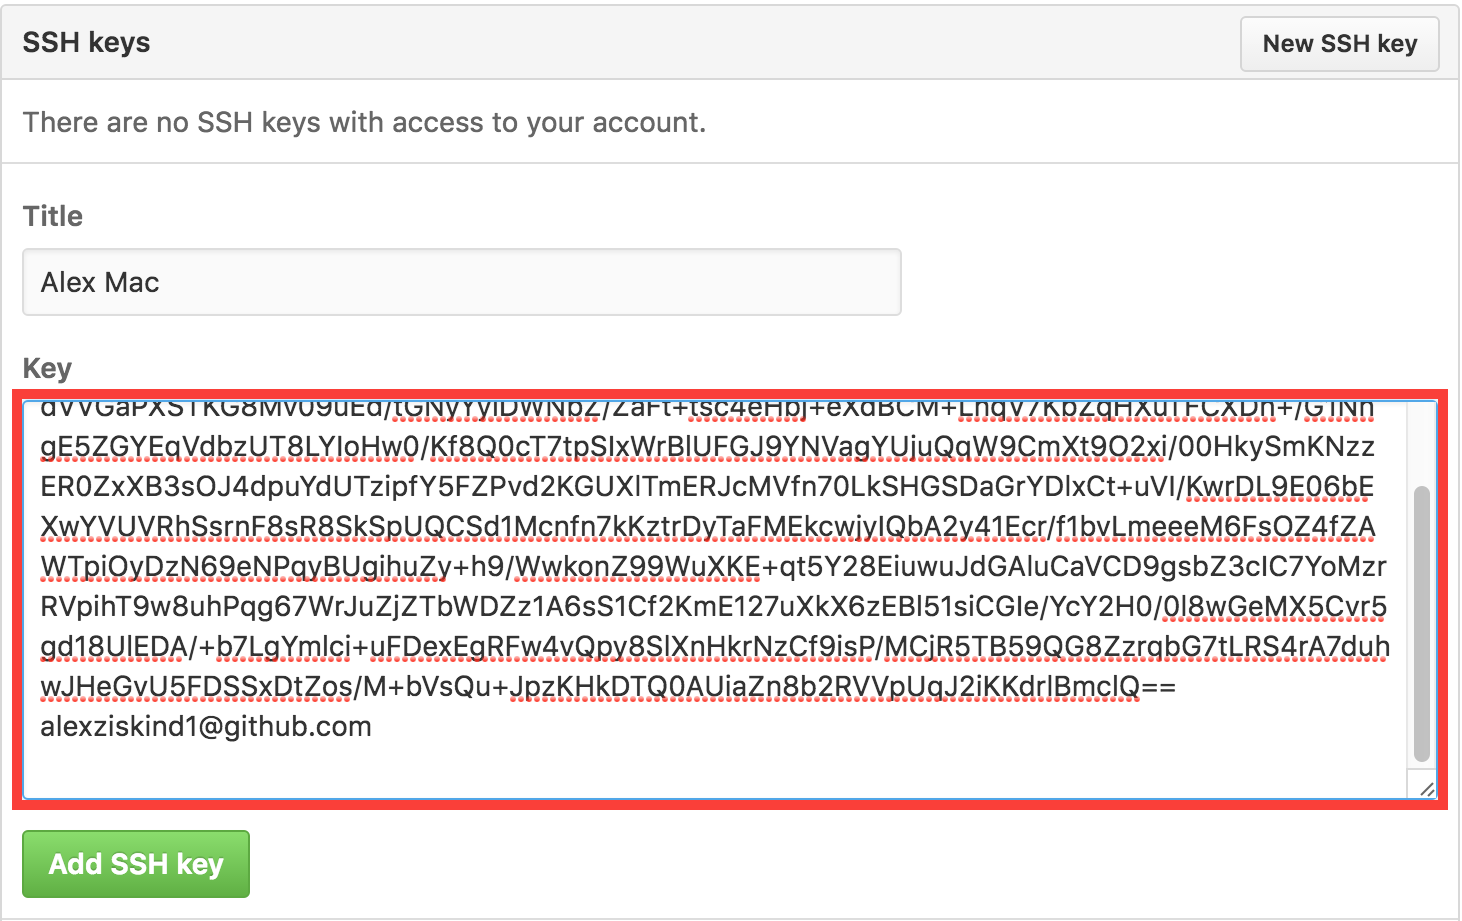
Click on the “Add SSH key” button to save the key
Step 4: Update Git submodule
We need to add the submodule via the smart git protocol in order to finish building our NativeScript CLI.
git submodule update –init
Now that we’ve added the SSH key to our GitHub account, this command should execute without a permissions error and download all the right objects. If you get a permissions error here, please review Step 3.
Step 5: Install NPM packages and build
Run the following command to get the missing packages listed as dependencies in the package.json file from NPM
npm install
Finally, build everything using the preconfigured Grunt command. You have to have Grunt installed before you can do this, of course. If you don’t, the command line will give you an error.
grunt
You’re all set with the setup.
To check the version of the CLI you’ve just built, run the tns command from the bin directory
bin/tns --version
You should see that the version is the latest one available in the master branch.
Now, if you want to use this newest version to run your NativeScript project in an iOS emulator, for example, you can simply call the tns command from the project directory like this
PATH_TO_CLI_FOLDER/bin/tns run ios --emulator
Video Tutorial
If you want to watch how to do these steps in a video tutorial, you can see it here.