NativeScript Blog
First Steps in Game Dev With NativeScript
Alexander Vakrilov
January 29, 2016
Taking advantage of the native platform capabilities, in this post we will start to build a labyrinth-like game. We will use TypeScript for this project, but as always, plain old Javascript is an option.
Let's have some fun with NativeScript! In this post we will start to build a labyrinth-like game. We will use TypeScript for this project, but as always, plain old Javascript is an option. Check this github repo for the end result.
The default template creates files we don’t need. Let’s get rid of the main-view-model.js and main-page.js files and create an empty main-menu.ts file instead.
The “tns install typescript” command we executed installed the necessary hooks that will transpile the TS files when we build the project. If you are using plain Javascript, you don't need this command.
As our last bit of clean up, replace the body of the main-page.xml file with the below code:
Let’s run the project for the first time. Switch to your command line program and enter the following command: “tns run android/ios” The results of this command are below:

Install the plugin from NPM using the CLI:
Now let's add the necessary UI to host our physics scene (main-page.xml):
The #container element will be used by the physics renderer to display the scene. The #meta label is optional - it will show the current FPS. The styling for those elements is done in the app.css file:
Next, let's bootstrap the scene in the pageLoaded event of the page (main-page.ts).
To summarize our work so far, we have:
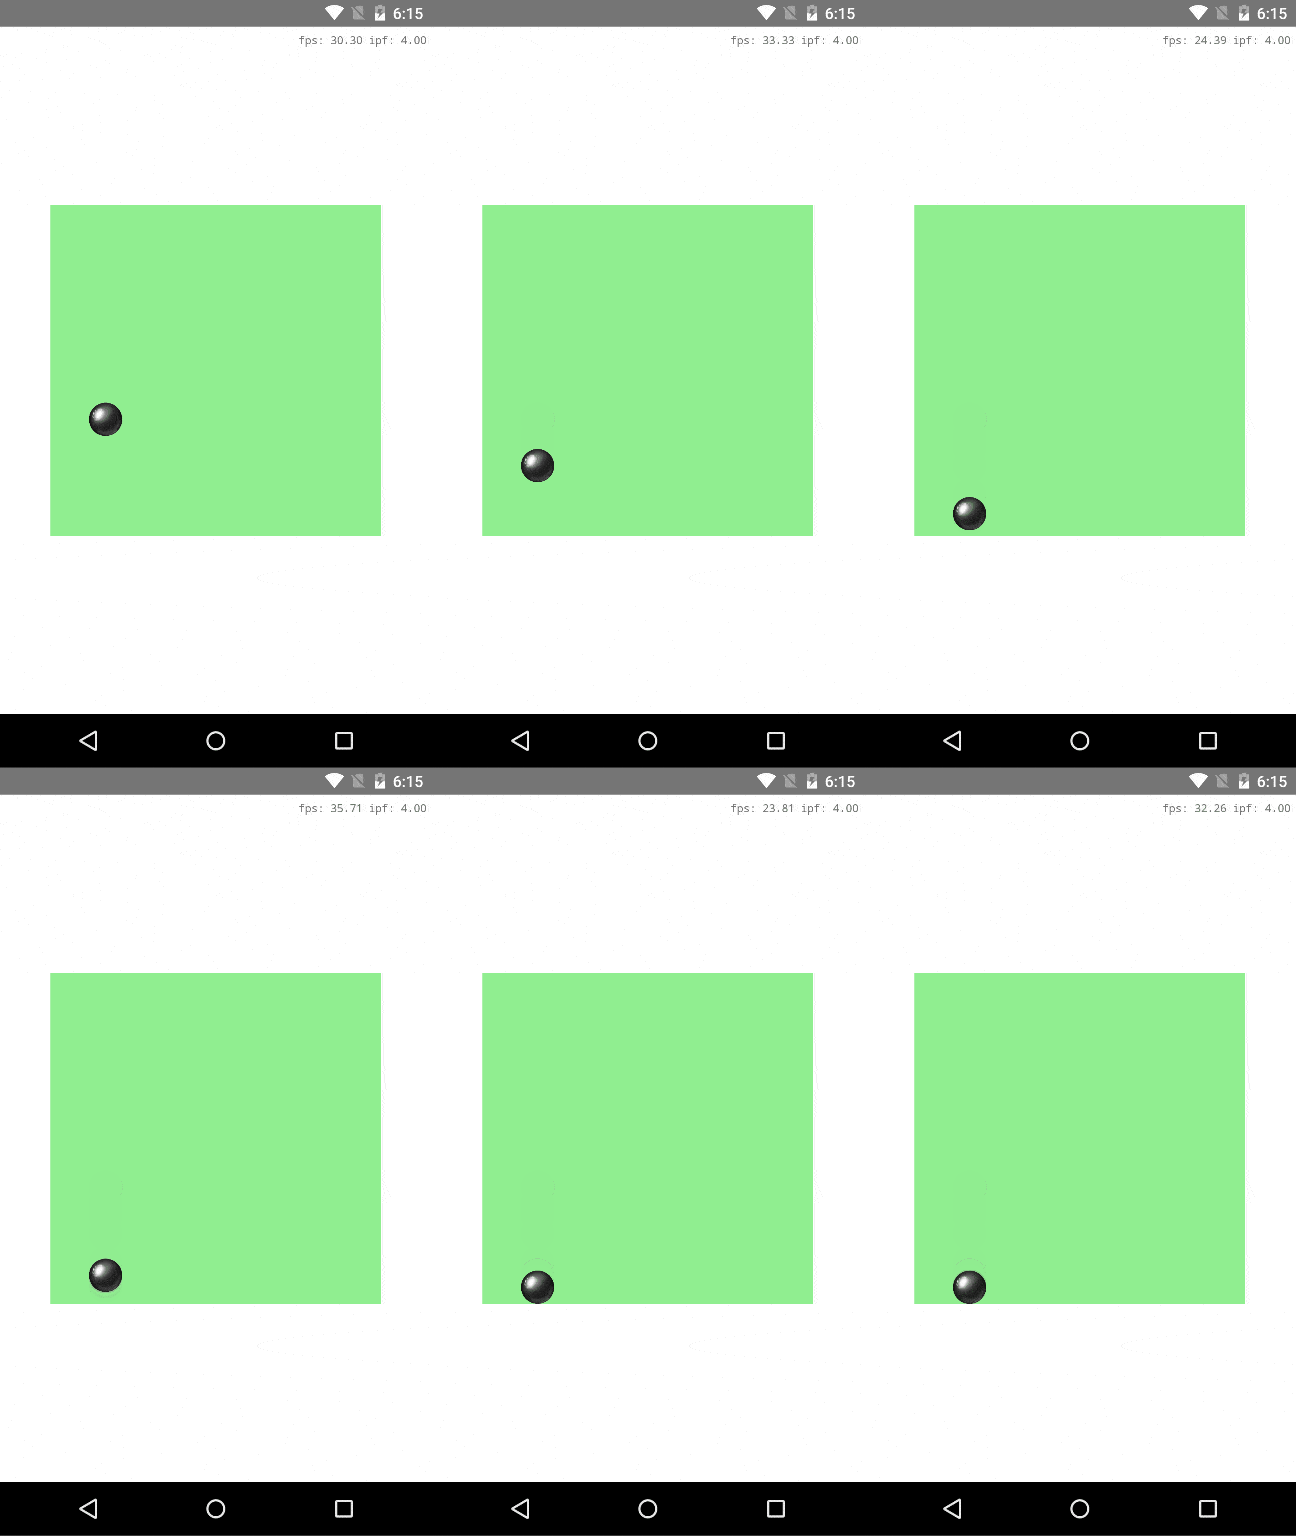
The ball is a “circular” body. The image we pass in the styles object is used by the NS renderer to load an image for the body. Restitution is the “bounciness” of the body. We want the ball to feel “heavy” so give it a relatively low value. We also assign a label “ball” as a handy reference for later.

Now, update the code so the accelerometer will influence the direction of the gravity vector. In main-page.ts, initialize the ‘constant-acceleration (a.k.a. “gravity”) behavior.
Nothing fancy here - attach to accelerometer event 1 second after the app has started and update the gravity vector every time the accelerometer reports an event. For extra credit, use a constant for gravity_scale.
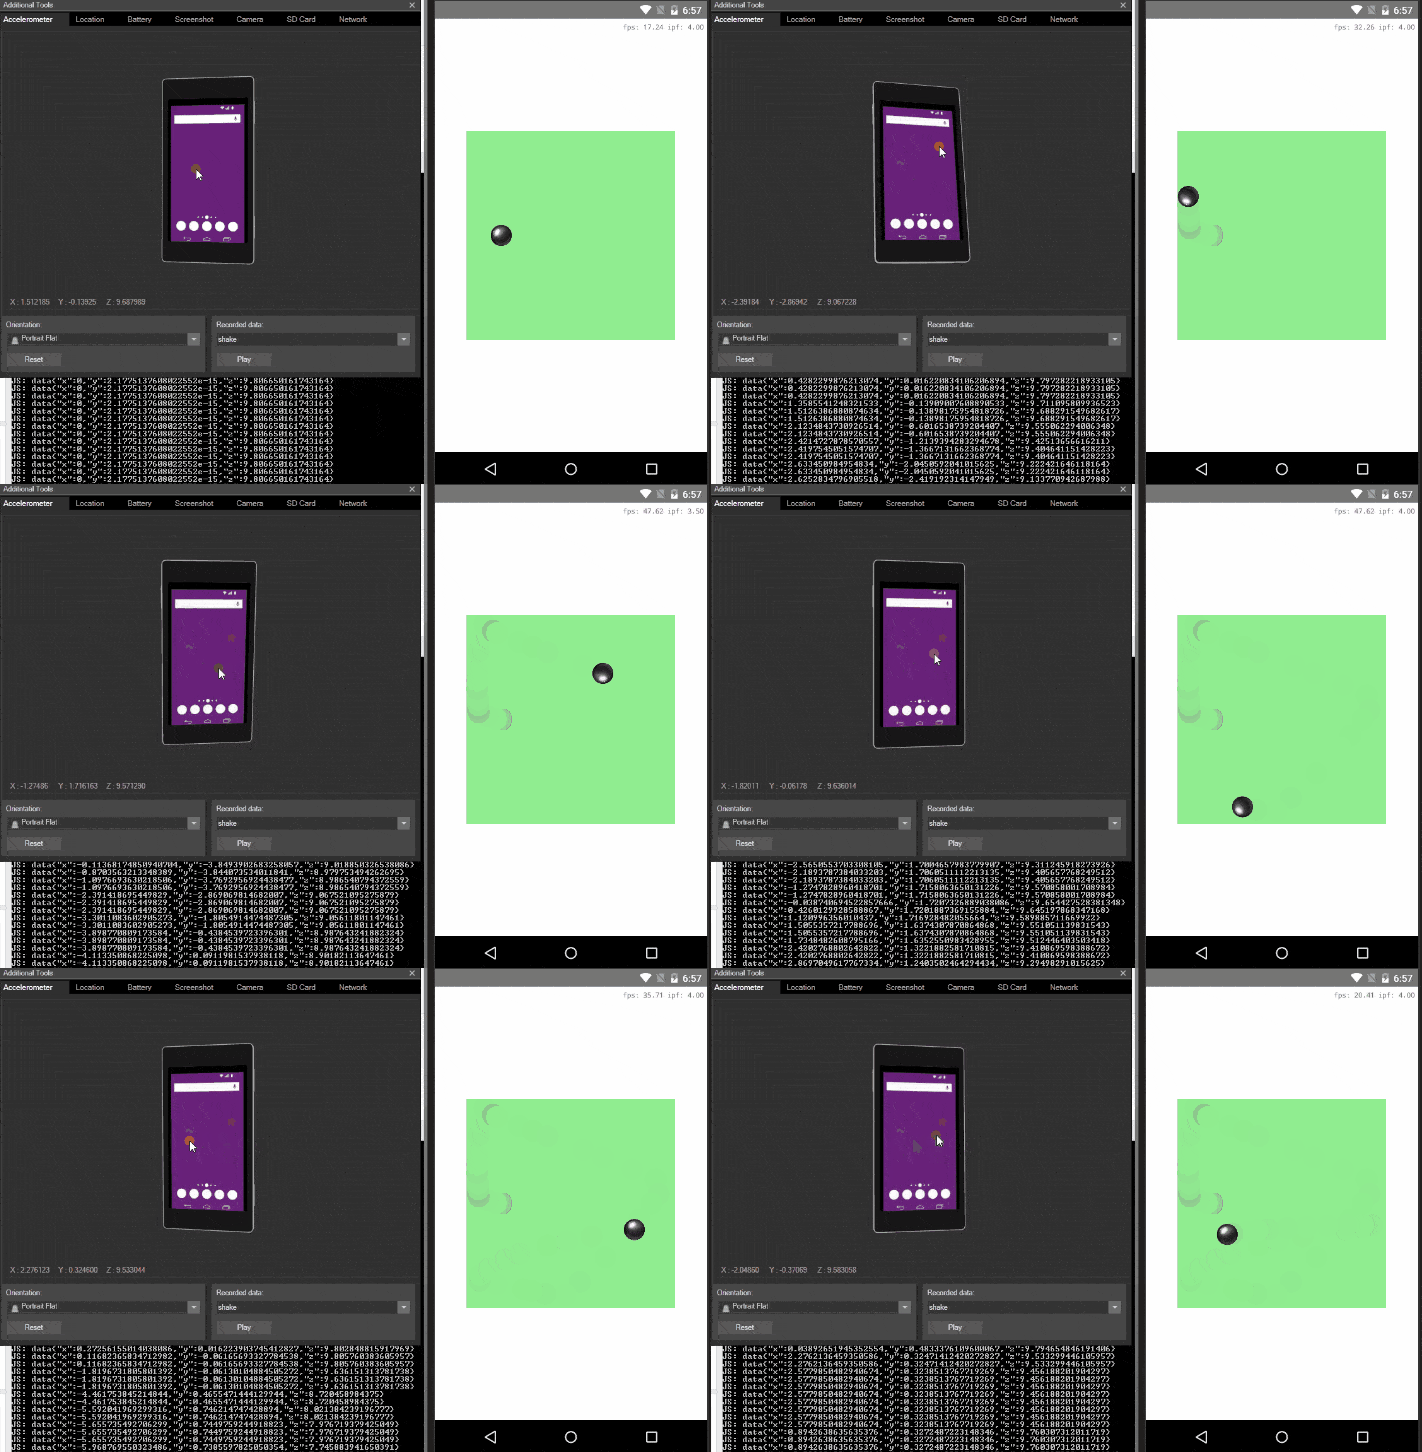
We can fine-tune it later for the best experience. Lets enjoy the interaction for now:

Start with adding walls on to the stage. Add the following code to main-page.ts:
Walls are rectangular bodies with 'static' treatment - they cannot be moved. Again - the styles object is used by the renderer to set the color of the body.
Next: define the target - the place we want to push the ball into:
Notice we give it a label just as we did with the ball. We are going to use these labels to detect the winning condition: the ball hits the target. The engine provides us with several ways to detect collisions. We need to detect the collision when the “ball” and the “target” bodies collide (add the code in the world initialization):
Now we have all the methods we need to define the first level of the game:
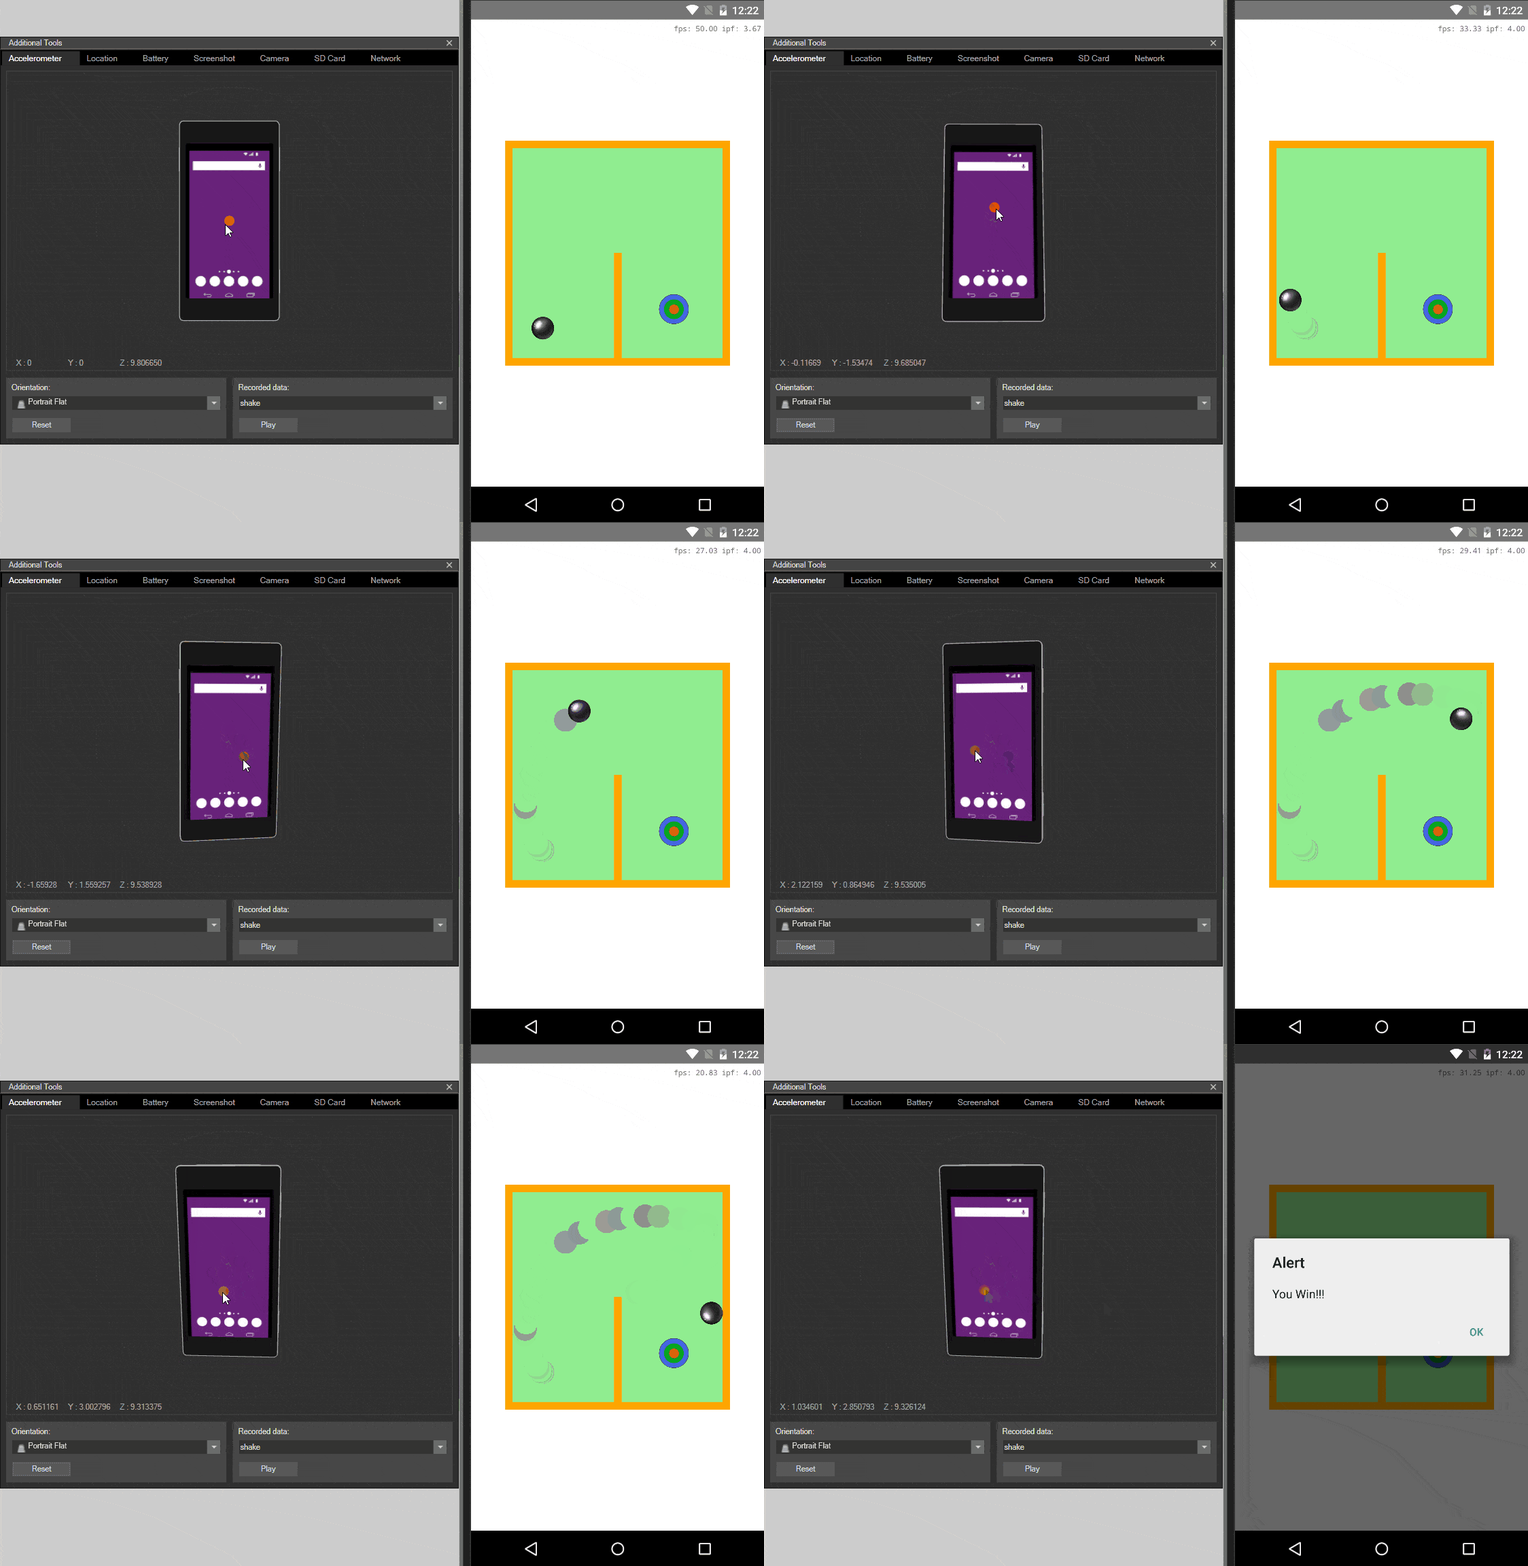
Let’s play:

With very little source code, we have been able to make a labyrinth-style game. Further, this game is available in native iOS and Android without any extra steps. In future articles, we will update the game as follows:
Project Setup
For brevity, assume we have already completed the NativeScript setup. Run these 3 commands to set up our new project:tns create ns-game
cd ns-game
tns install typescript
The default template creates files we don’t need. Let’s get rid of the main-view-model.js and main-page.js files and create an empty main-menu.ts file instead.
The “tns install typescript” command we executed installed the necessary hooks that will transpile the TS files when we build the project. If you are using plain Javascript, you don't need this command.
As our last bit of clean up, replace the body of the main-page.xml file with the below code:
<Page xmlns="http://schemas.nativescript.org/tns.xsd" loaded="pageLoaded" actionBarHidden="true">
<GridLayout>
<Label text="Here be dragons!"/>
</GridLayout>
</Page>
Let’s run the project for the first time. Switch to your command line program and enter the following command: “tns run android/ios” The results of this command are below:

Getting the Physics Right
Now we need to bring in a physics engine that will drive our game. We are going to use the nativescript-physics-js plugin which contains a NativeScript render for the PhysicsJS library.Install the plugin from NPM using the CLI:
tns plugin add nativescript-physics-js
Now let's add the necessary UI to host our physics scene (main-page.xml):
<Page xmlns="http://schemas.nativescript.org/tns.xsd" loaded="pageLoaded" actionBarHidden="true">
<GridLayout>
<!-- Definte the container for the physics scene -->
<GridLayout id="container"/>
<!-- Label for meta info is not required -->
<Label id="meta"/>
</GridLayout>
</Page>
The #container element will be used by the physics renderer to display the scene. The #meta label is optional - it will show the current FPS. The styling for those elements is done in the app.css file:
#container {
width: 300;
height: 300;
background-color: lightgreen;
}
#meta {
font-family: monospace;
font-size: 10;
horizontal-align: right;
vertical-align: top;
margin: 5;
}
Next, let's bootstrap the scene in the pageLoaded event of the page (main-page.ts).
import Physics = require("nativescript-physics-js");
import { Page } from "ui";
var page: Page;
var init = false;
export function pageLoaded(args) {
// Prevent double initialization
if (init) {
return;
}
// Get references to container and meta-info views
var page = args.object;
var container = page.getViewById("container");
var metaText = page.getViewById("meta");
// Create physics world
var world = Physics({sleepDisabled: true});
// Add {N} renderer
world.add(Physics.renderer('ns', {
container: container,
metaText: metaText,
meta: true
}));
// Add behaviors
world.add([
Physics.behavior('edge-collision-detection', { aabb: Physics.aabb(0, 0, 300, 300) }), // Scene bounds
Physics.behavior('body-collision-detection'), // Collision related
Physics.behavior('body-impulse-response'), // Collision related
Physics.behavior('sweep-prune'), // Collision related
Physics.behavior('constant-acceleration') // Gravity
]);
// Start ticking - render new scene every 20ms
world.on('step', function () { world.render() });
setInterval(function () { world.step(Date.now()); }, 20);
}
To summarize our work so far, we have:
- Created a Physics object (word). The sleepDisabled flag prevents the physical bodies from going into a sleep state - don’t worry about that for now.
- Initialized the NativeScript renderer with the UI container and meta label we have created in XML.
- Added some physics behaviors - edge-collision-detection, collisions and gravity. More info about the behaviors.
- Started a world timer - render a step every 20ms
export function pageLoaded(args) {
// … initialization
// Add the ball
addBall(world, 50, 150);
}
function addBall(world, x: number, y: number){
var ball = Physics.body('circle', {
label: "ball",
x: x,
y: y,
radius: 15,
label: "ball",
styles: { image: "~/images/ball.png" }
});
ball.restitution = 0.3;
world.add(ball);
}
The ball is a “circular” body. The image we pass in the styles object is used by the NS renderer to load an image for the body. Restitution is the “bounciness” of the body. We want the ball to feel “heavy” so give it a relatively low value. We also assign a label “ball” as a handy reference for later.

Add Interaction
While a bouncing ball is cool, we can make it cooler by being able to control the direction of the ball by rotating the phone. Again, we are going to use a plugin to attach to accelerometer events:tns plugin add nativescript-accelerometer
Now, update the code so the accelerometer will influence the direction of the gravity vector. In main-page.ts, initialize the ‘constant-acceleration (a.k.a. “gravity”) behavior.
// Add behaviors
var gravity = Physics.behavior('constant-acceleration', { acc: { x: 0, y: 0 } });
world.add([
// other behaviors
gravity
]);
// Start accelerometer events 1 second after the word is created.
setTimeout(function() {
accService.startAccelerometerUpdates((data) => {
var xAcc = -data.x * 0.003;
var yAcc = data.y * 0.003;
gravity.setAcceleration({ x: xAcc, y: yAcc });
})
}, 1000);
Nothing fancy here - attach to accelerometer event 1 second after the app has started and update the gravity vector every time the accelerometer reports an event. For extra credit, use a constant for gravity_scale.
const gravity_scale = 0.003;
We can fine-tune it later for the best experience. Lets enjoy the interaction for now:

Add Some Game Logic
With very little code, and by using pre-existing libraries, we now have a fairly realistic ball controlled by moving the mobile device. Now comes the interesting part - defining the other game elements.Start with adding walls on to the stage. Add the following code to main-page.ts:
function addWall(world, x: number, y: number, width: number, height:number, angle: number = 0){
world.add(Physics.body('rectangle', {
treatment: 'static',
x: x,
y: y,
width: width,
height: height,
angle: angle,
styles: { color: "orange" }
}));
}
Walls are rectangular bodies with 'static' treatment - they cannot be moved. Again - the styles object is used by the renderer to set the color of the body.
Next: define the target - the place we want to push the ball into:
function addTarget(world, x: number, y: number){
world.add(Physics.body('circle', {
label: 'target',
treatment: 'static',
x: x,
y: y,
radius: 20,
styles: { image: "~/images/target.png" }
}));
}
Notice we give it a label just as we did with the ball. We are going to use these labels to detect the winning condition: the ball hits the target. The engine provides us with several ways to detect collisions. We need to detect the collision when the “ball” and the “target” bodies collide (add the code in the world initialization):
var query = Physics.query({
$or: [
{ bodyA: { label: 'ball' }, bodyB: { label: 'target' } }
, { bodyB: { label: 'target' }, bodyA: { label: 'ball' } }
]
});
world.on('collisions:detected', function(data, e) {
if (Physics.util.find(data.collisions, query)) {
world.pause();
alert("You Win!!!")
}
});
Now we have all the methods we need to define the first level of the game:
// After physics word initialization
addWall(world, 0, 150, 20, 300);
addWall(world, 300, 150, 20, 300);
addWall(world, 150, 0, 300, 20);
addWall(world, 150, 300, 300, 20);
addWall(world, 150, 250, 10, 200);
addTarget(world, 225, 225);
addBall(world, 50, 250);
Let’s play:

With very little source code, we have been able to make a labyrinth-style game. Further, this game is available in native iOS and Android without any extra steps. In future articles, we will update the game as follows:
- Create level chooser screen and load levels form files.
- Keep track of progress and score.
- Play sounds when ball hits the walls.