Embed NativeScript into an existing iOS app
Ad hoc usage of NativeScript is incredibly powerful and empowers diverse teams. Let's learn how to embed the NativeScript SDK into an existing iOS app.
You can embed NativeScript into any existing iOS app for ad hoc usage. A prior post touched on this a couple years ago. This series will provide a clear walk-through with all the modern improvements.
NativeScript has matured greatly over the past couple years and part of it's maturity is increased extensibility.
We can now simply install a Cocoapod to use it from any iOS app. This not only provides the ability to embed an entire NativeScript app (which we will demonstrate) but also using the SDK purely as a versatile JavaScript engine.
A Walk Through
To be as thorough as possible, we will walk through from zero to a completely working example.
1. Create an Xcode project
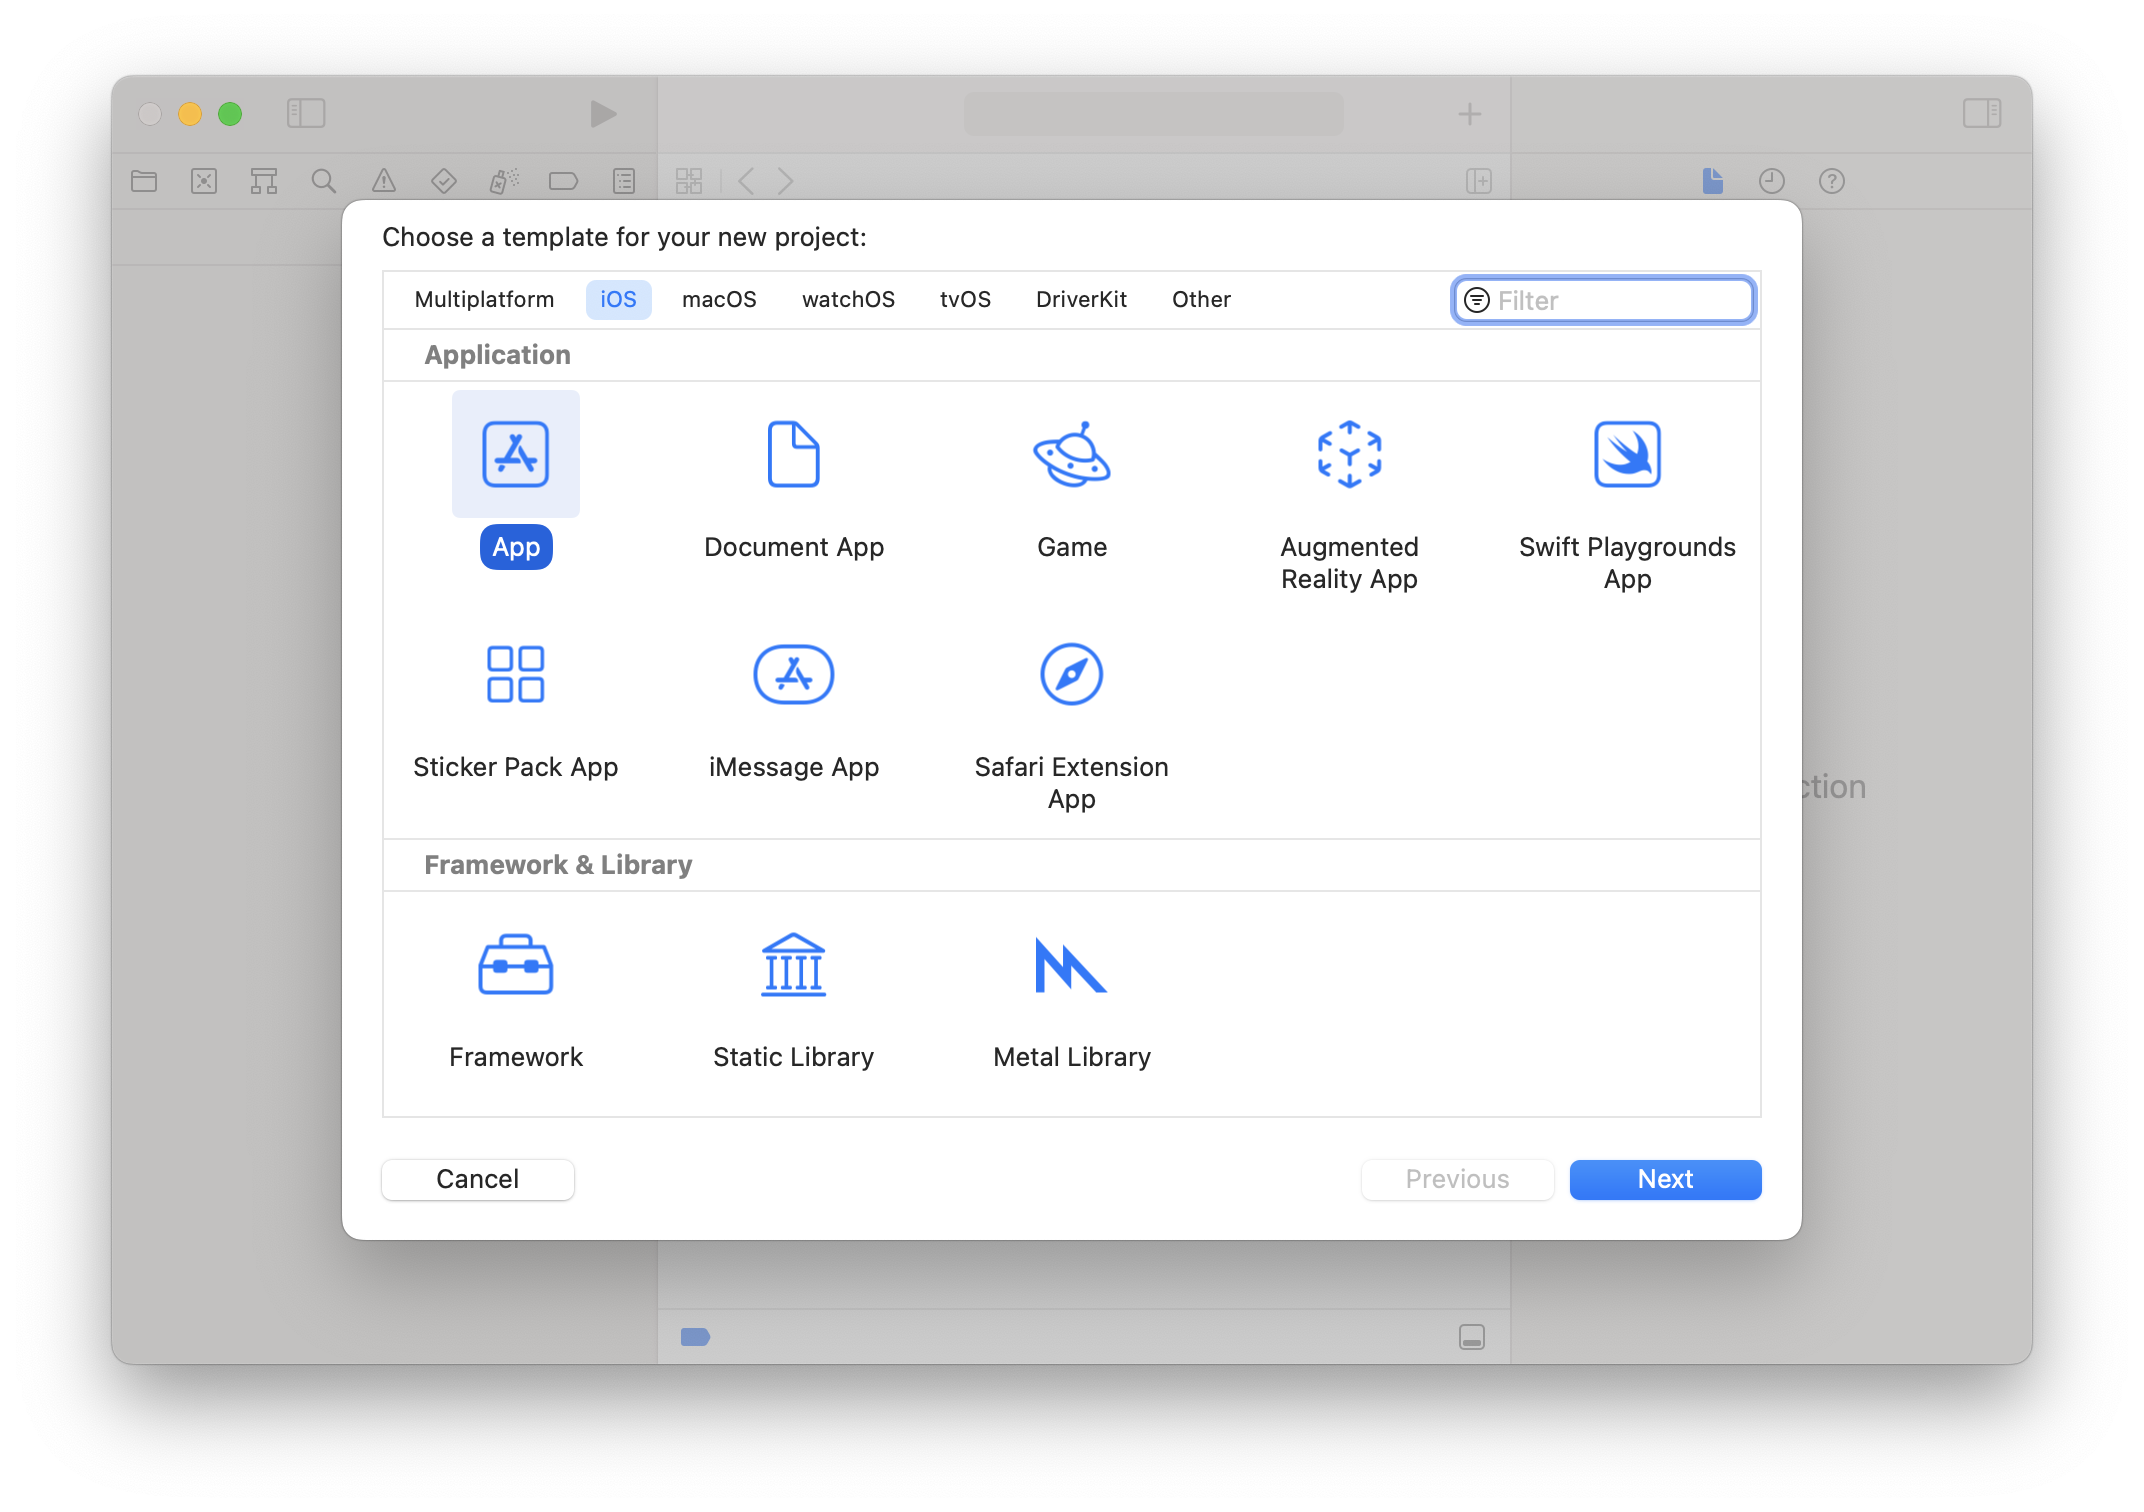
Open Xcode and Choose File > New > Project
Make sure iOS filter is chosen along the top with the App option selected and choose Next.
We can name our app, eg: MyCoolApp, choose a Team, and we'll use Swift as the base Language, then choose Next.
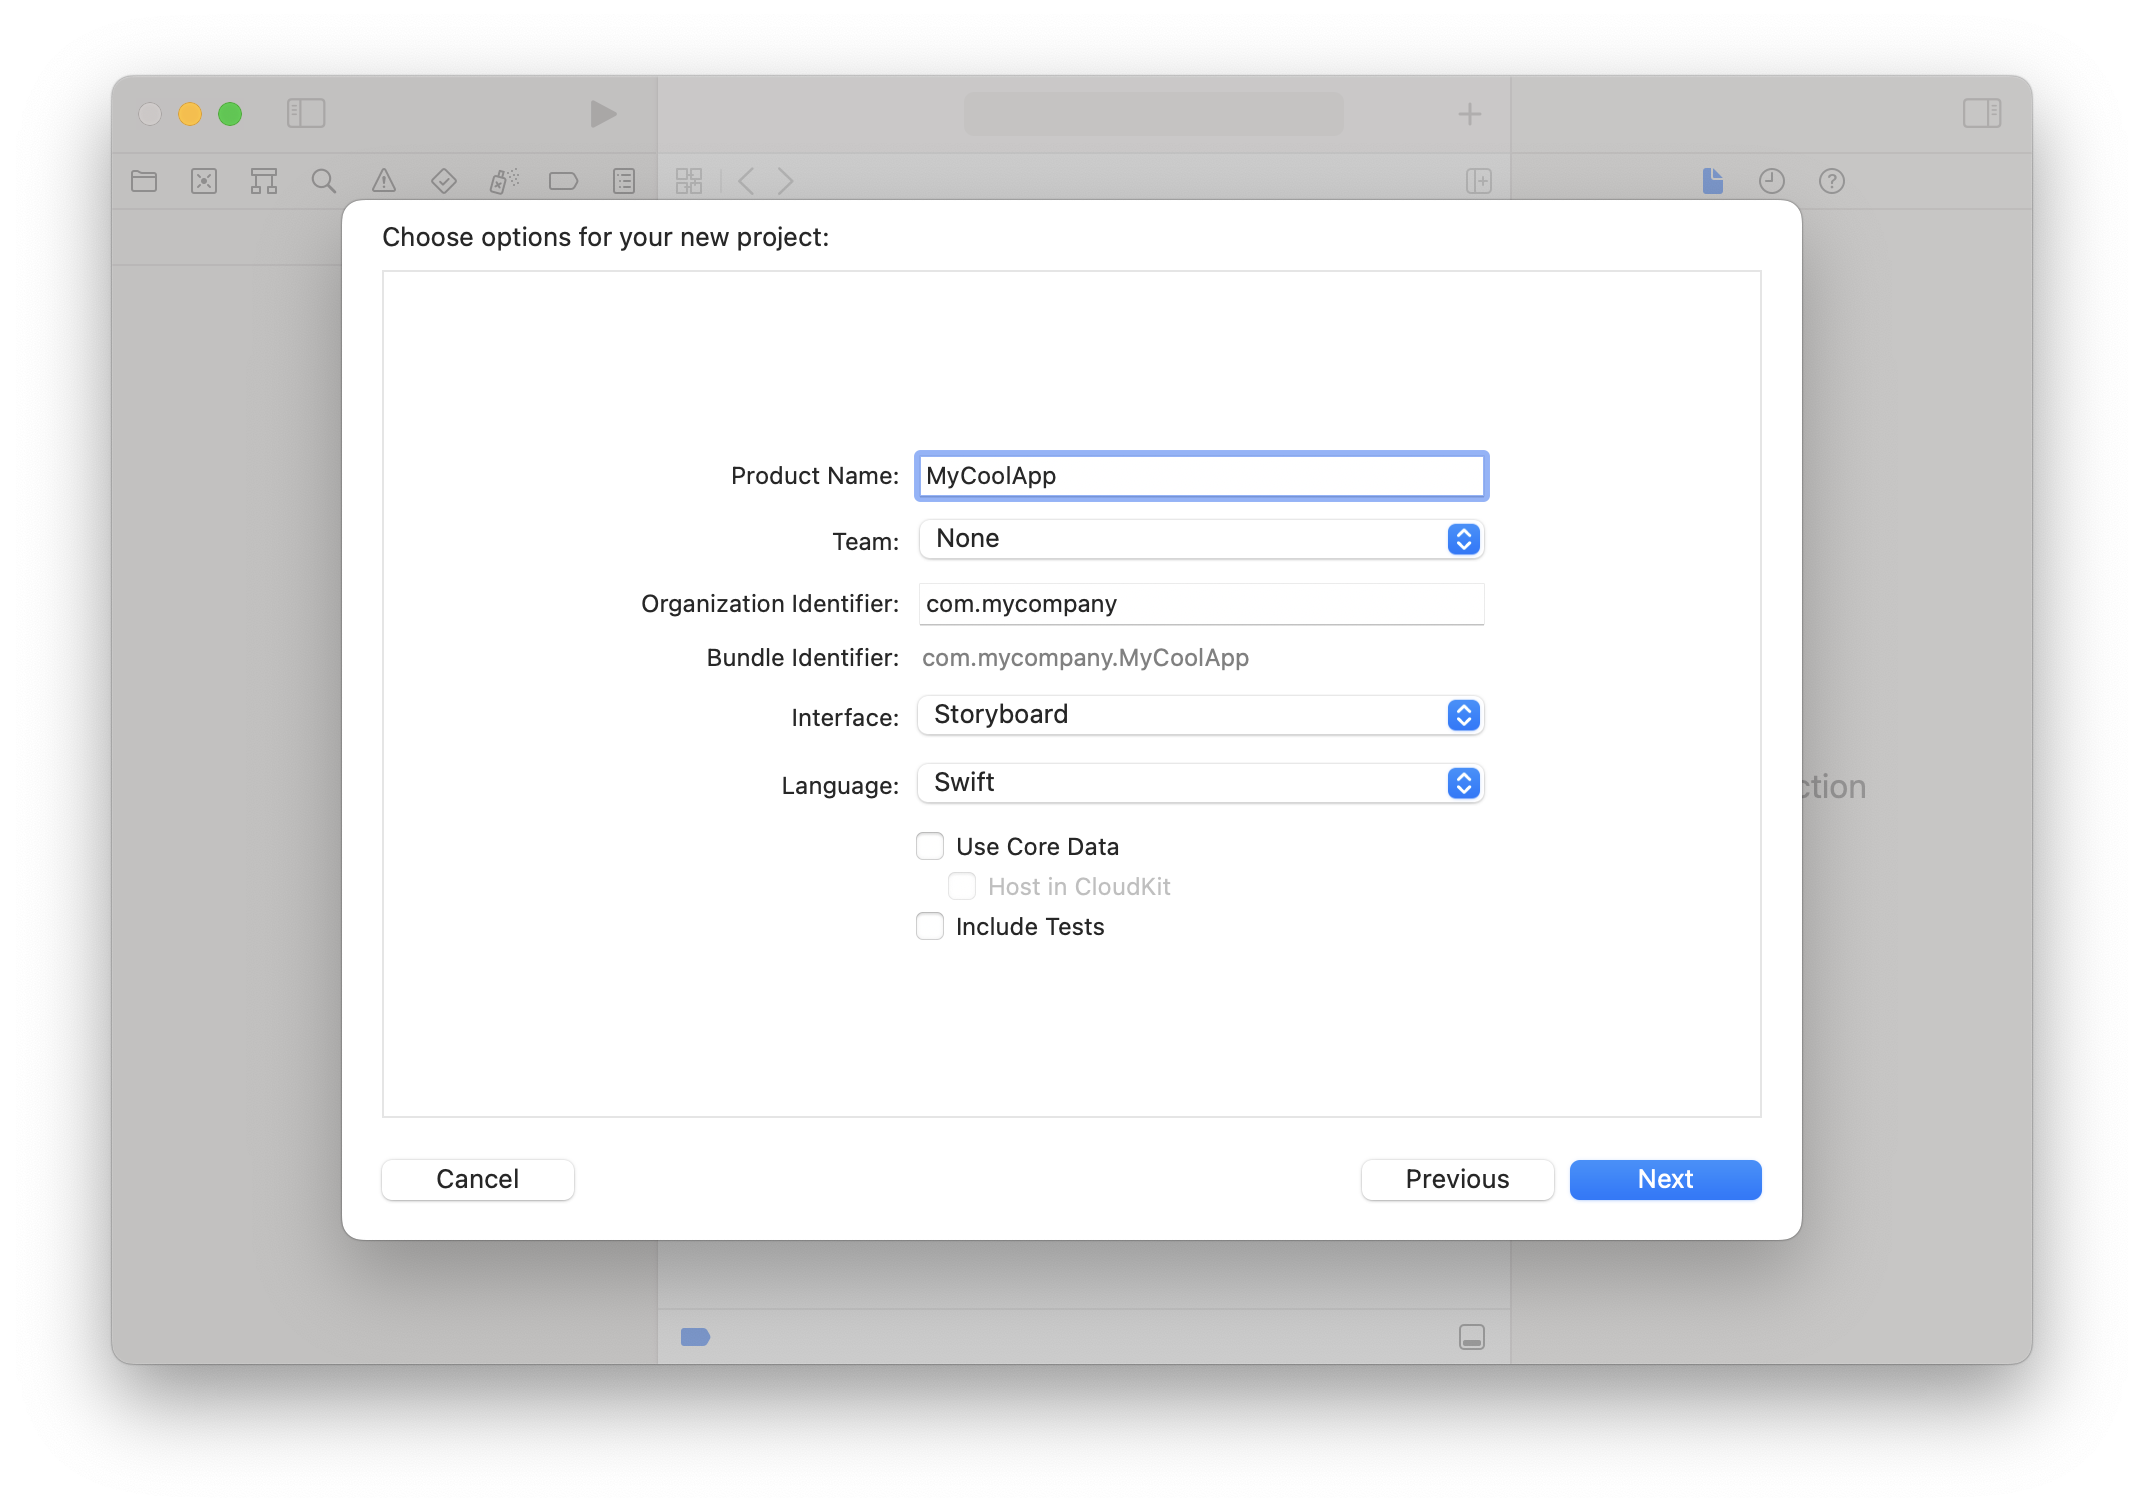
You will be prompted to choose a location to save the project and now we're set.
2. Add a Podfile to use NativeScriptSDK
platform :ios, '15.0'

target 'MyCoolApp' do
  use_frameworks!
  pod 'NativeScriptSDK', '~> 8.4.2'
  pod 'NativeScriptUI', '~> 0.1.2'
end
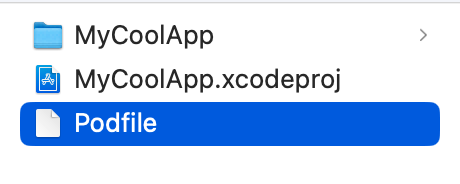
You should now have a file tree looking like this:
Now run pod install in that directory and you should see output like this:
$ pod install
Analyzing dependencies
Downloading dependencies
Installing NativeScriptSDK (8.4.2)
Installing NativeScriptUI (0.1.2)
Generating Pods project
Integrating client project
[!] Please close any current Xcode sessions and use `MyCoolApp.xcworkspace` for this project from now on.
Pod installation complete! There are 2 dependencies from the Podfile and 2 total pods installed.
[!] Your project does not explicitly specify the CocoaPods master specs repo. Since CDN is now used as the default, you may safely remove it from your repos directory via `pod repo remove master`. To suppress this warning please add `warn_for_unused_master_specs_repo => false` to your Podfile.
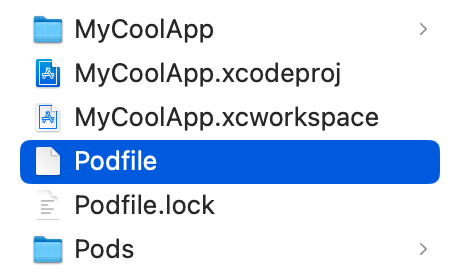
This creates an .xcworkspace file with the Pods included so your directory will now look like this:
3. Use the NativeScriptSDK
Let's open the MyCoolApp.xcworkspace file to put the NativeScriptSDK to work for us now.
You can present completely standalone NativeScript apps or just isolated views (eg: microfrontend style) in a modal, navigate to the them or even replace the entire frame of your app if you'd like. We'll demonstrate how to present a NativeScript app in a modal to illustrate how concise things can be.
A. Conform to NativeScriptEmbedderDelegate
Let's create a new Swift file to conform to the SDK's NativeScriptEmbedderDelegate protocol and act as the presenter we can use from anywhere.
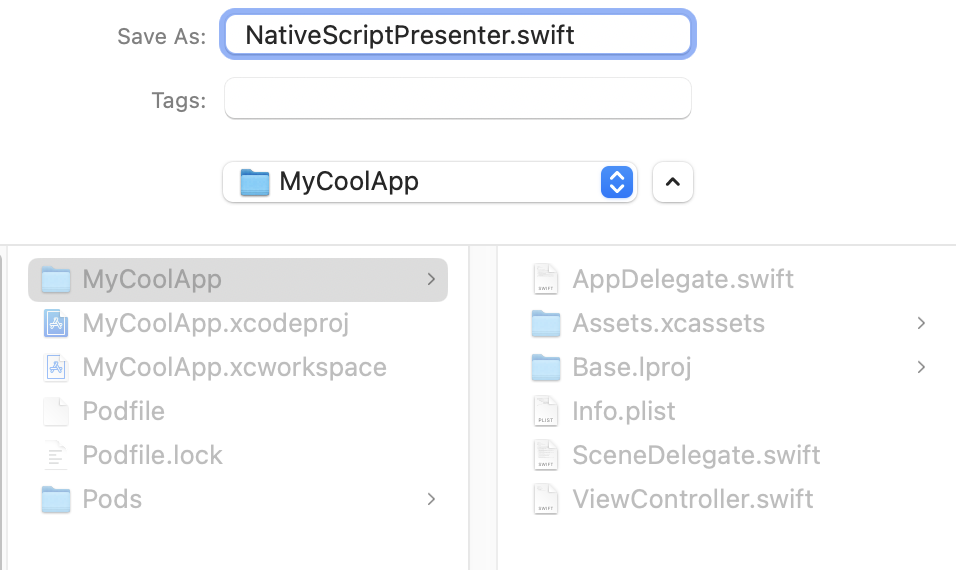
File > New > File and just select the Swift File option:

We'll name the file NativeScriptPresenter.swift:
Let's replace the contents of that file with the following:
import UIKit
import NativeScriptSDK

public class NativeScriptPresenter: NSObject, NativeScriptEmbedderDelegate {
  var vc: UIViewController?

  public func presentNativeScriptApp(_ vc: UIViewController!) -> Any! {
    vc.view.backgroundColor = UIColor.white
    self.vc?.present(vc, animated: true)
    return vc;
  }
}
We import NativeScriptSDK and allow our class to implement the NativeScriptEmbedderDelegate protocol which requires presentNativeScriptApp be defined. This function is called by your NativeScript app when it starts and passes along it's ViewController so you can present it anyway you'd like.
B. Ensure your Bridging-Header.h includes NativeScript
A lot of established iOS apps already have a bridging header file but since we created this from scratch, let's add one to ensure NativeScript can be configured.
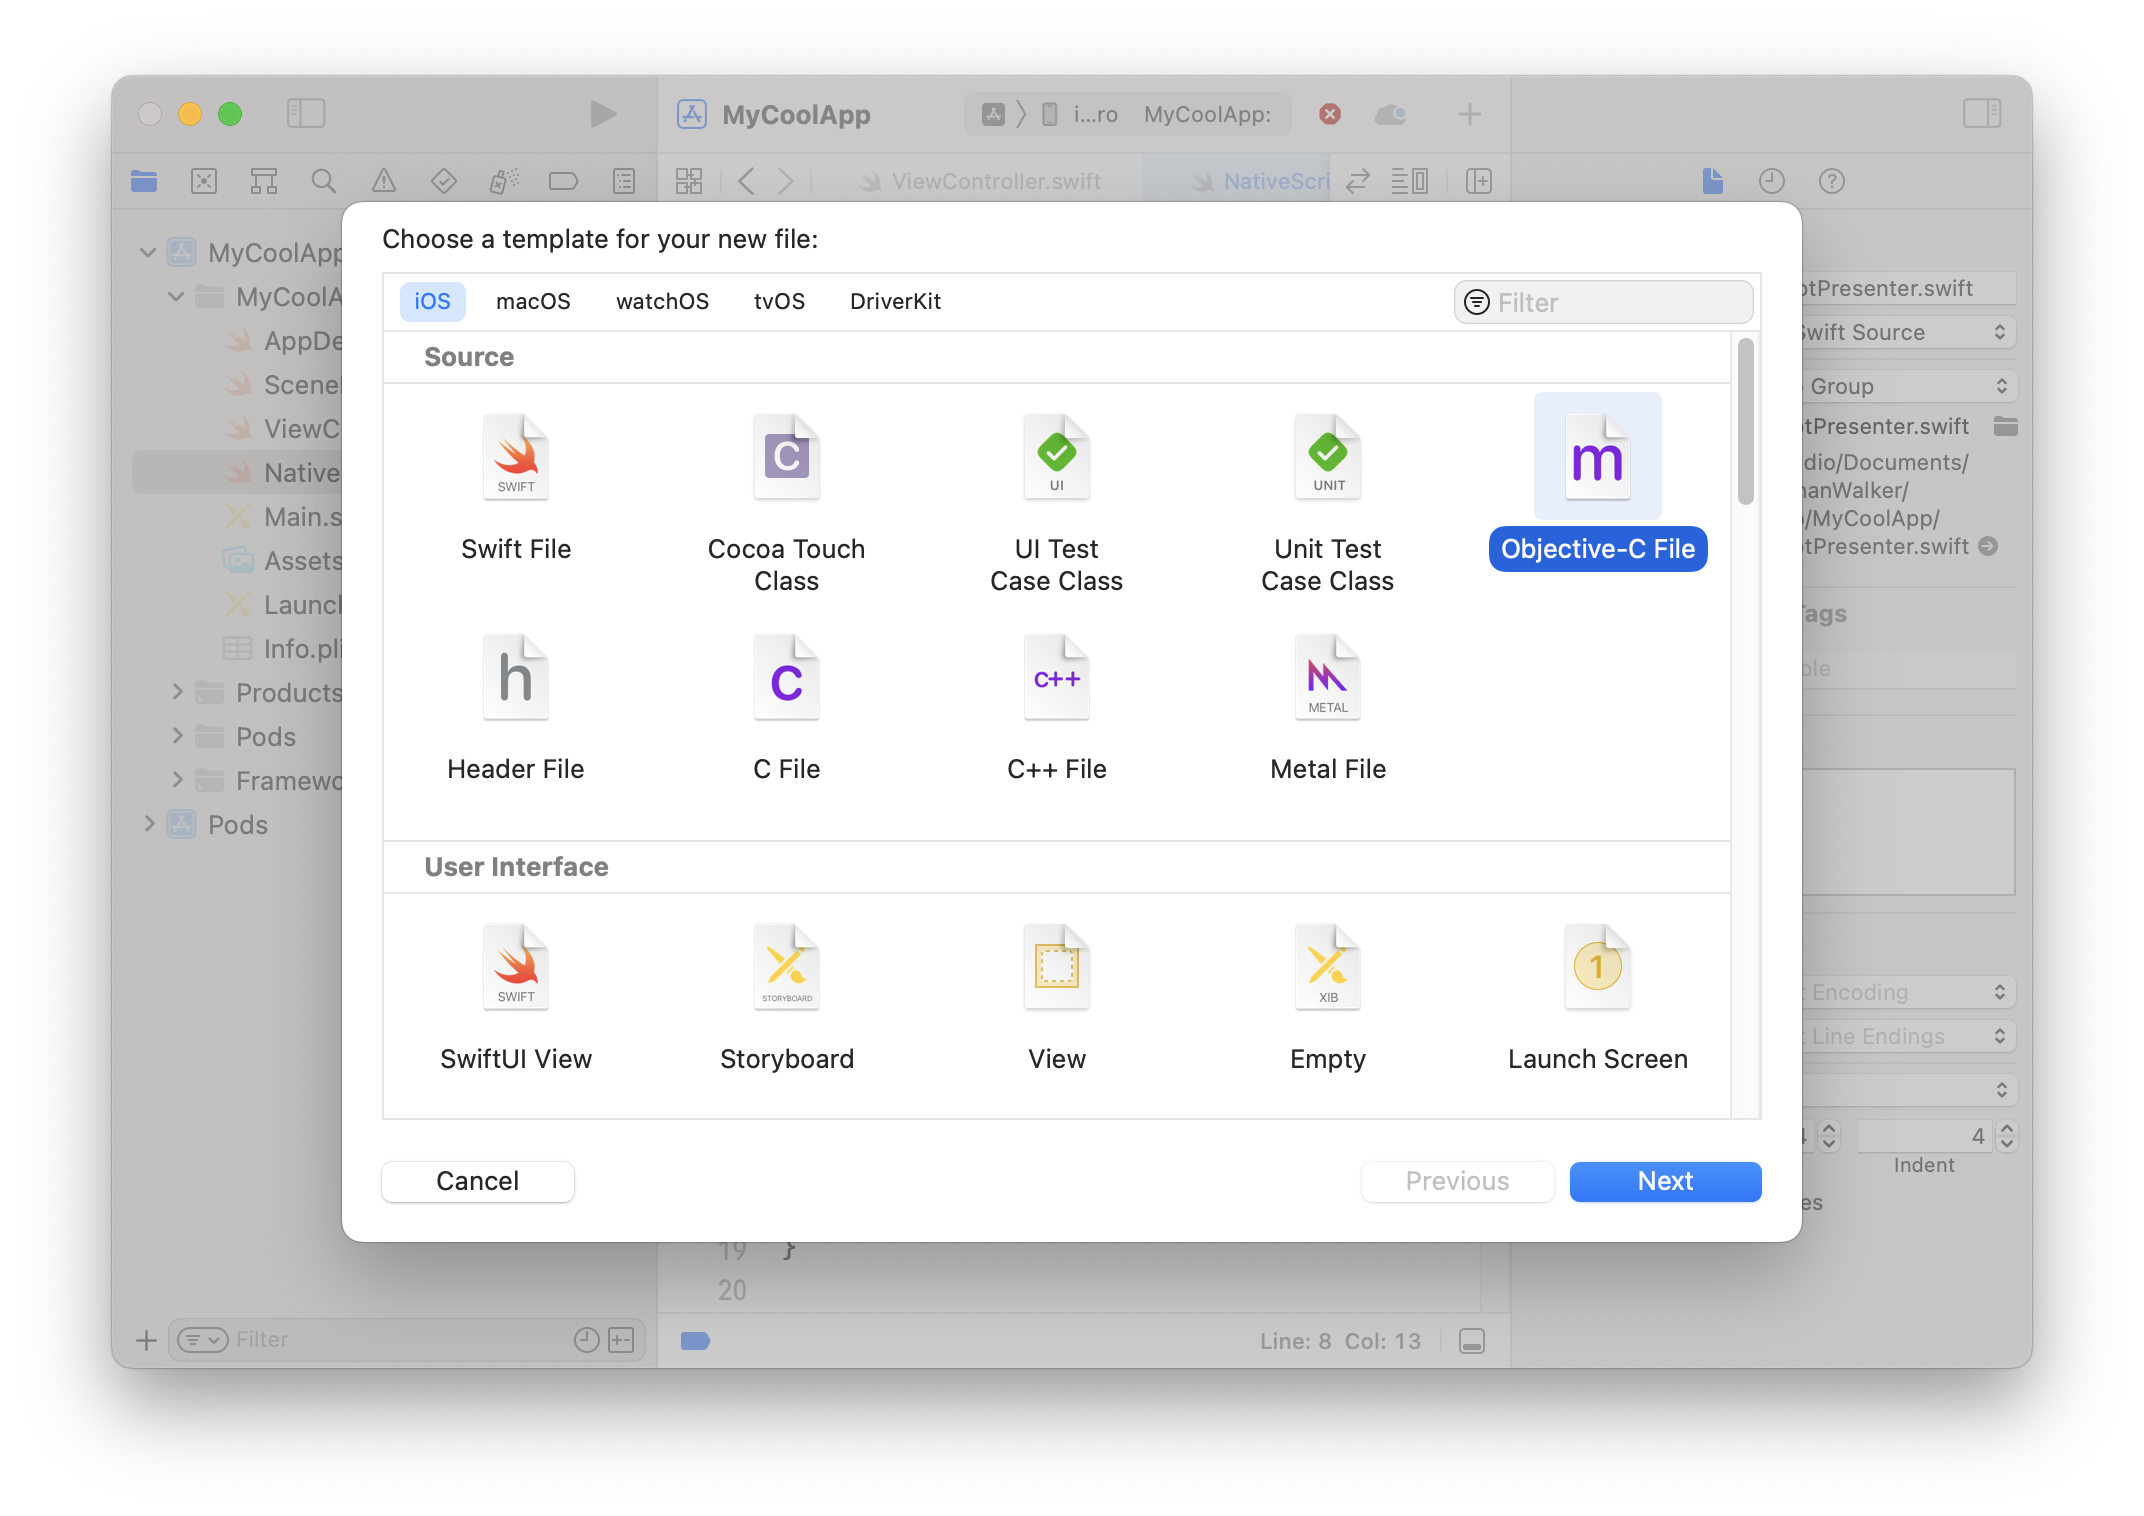
Xcode provides a convenience when adding a bridging header file for the first time to auto configure it. By just creating one Objective C file for the first time, you will be prompted to auto create one so let's do that.
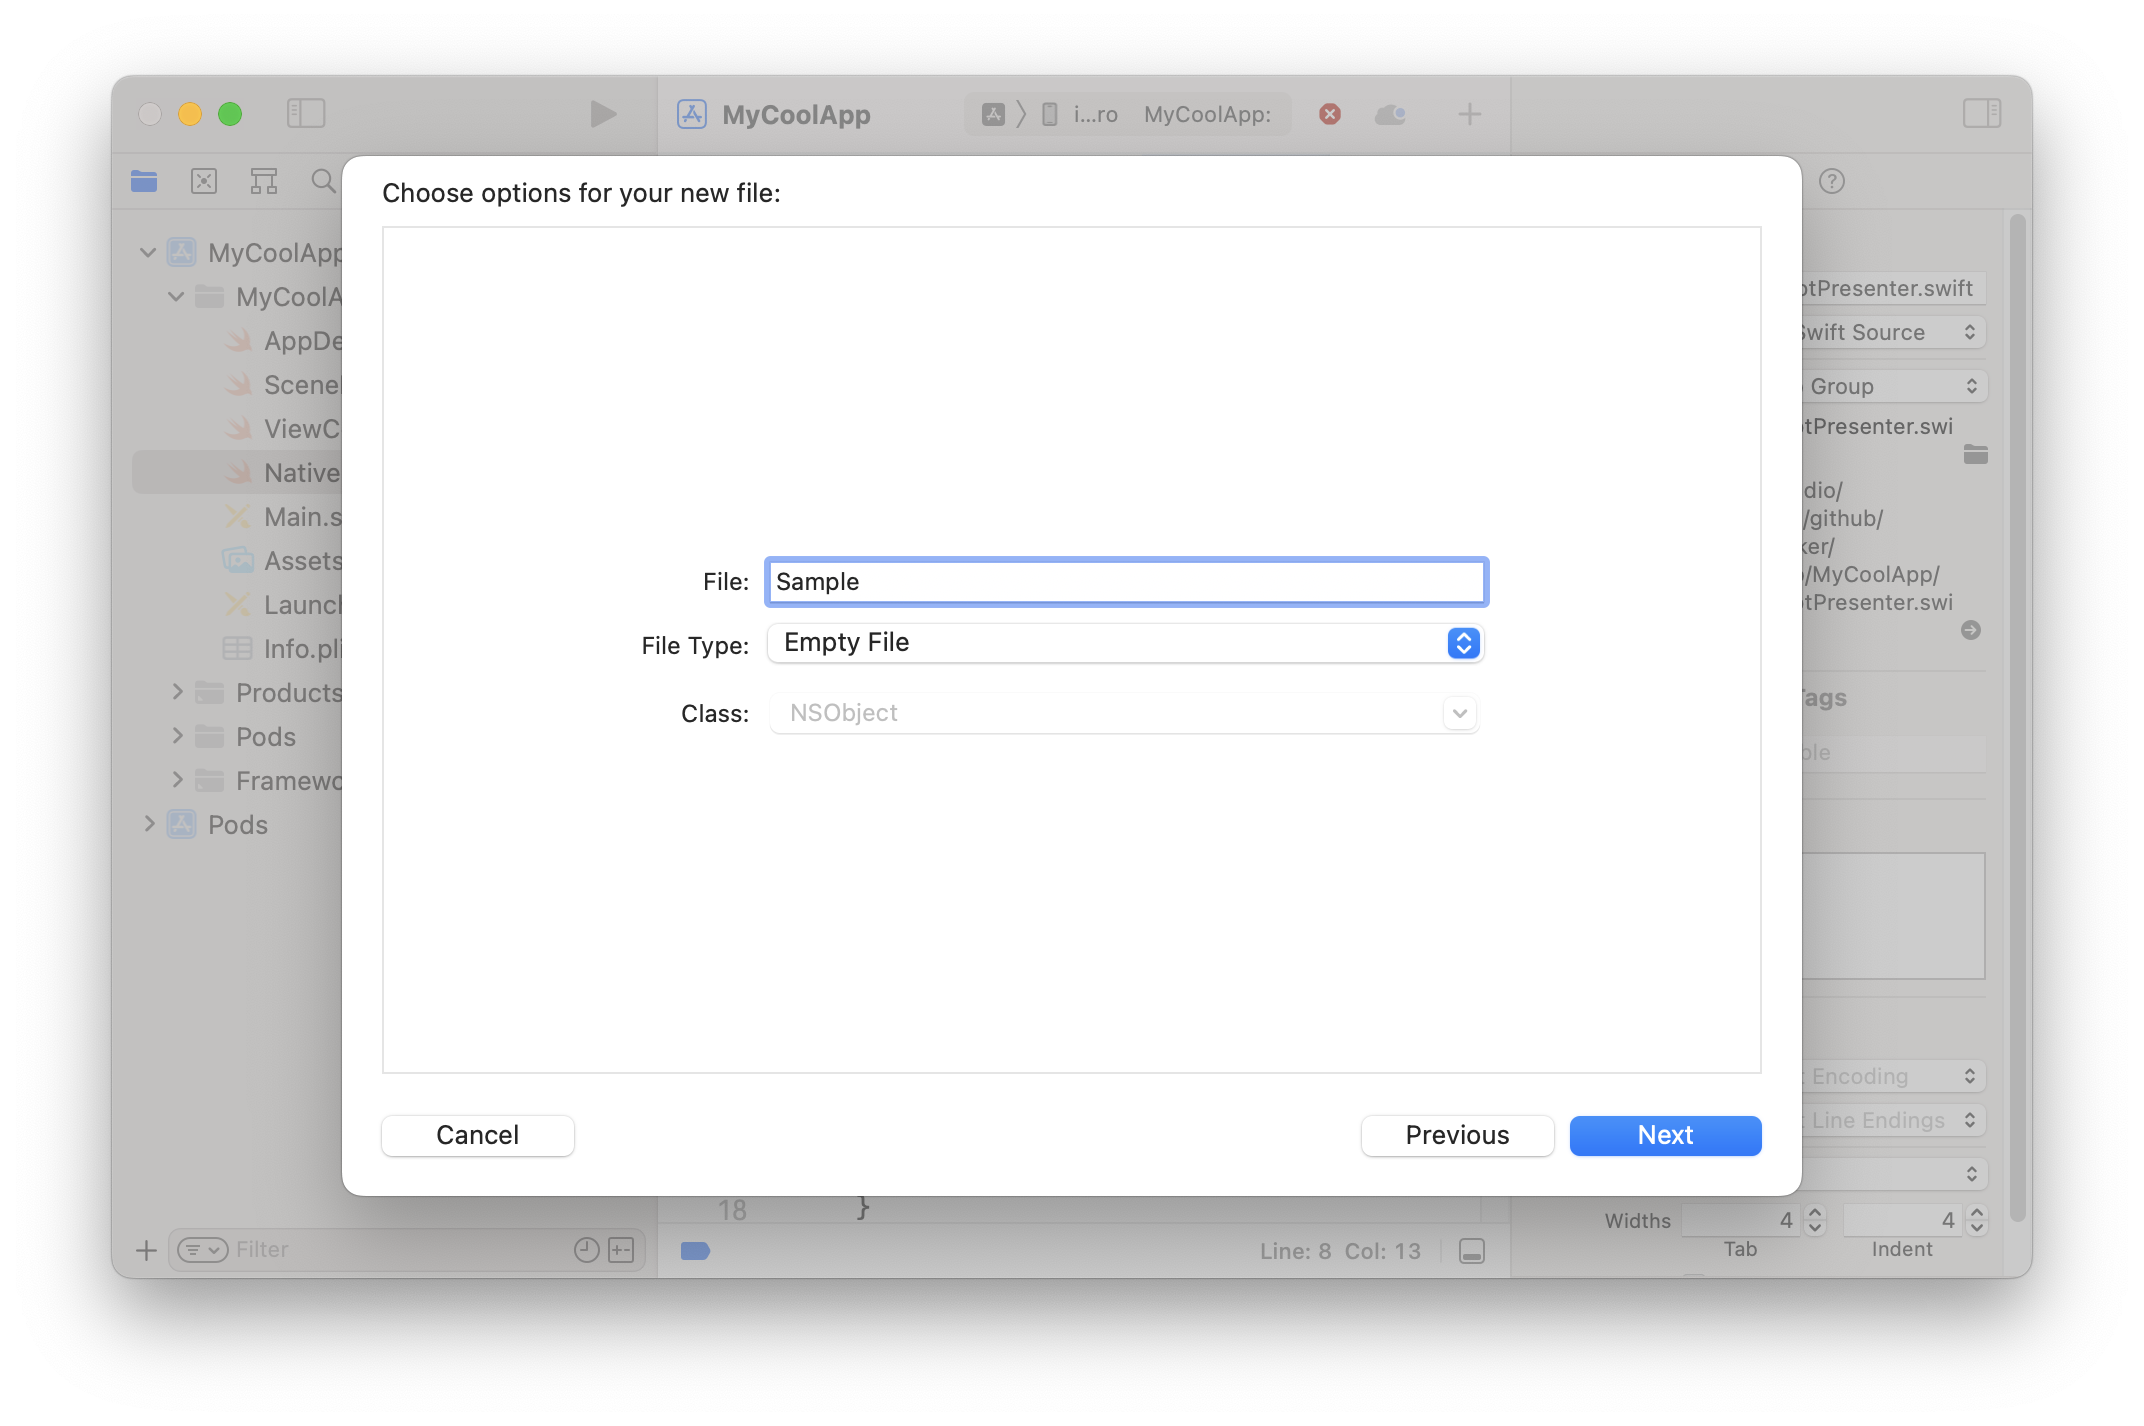
File > New > Objective-C File, name it just "Sample" (as we will actually remove it in a moment):
You will then be prompted to Create Bridging Header:
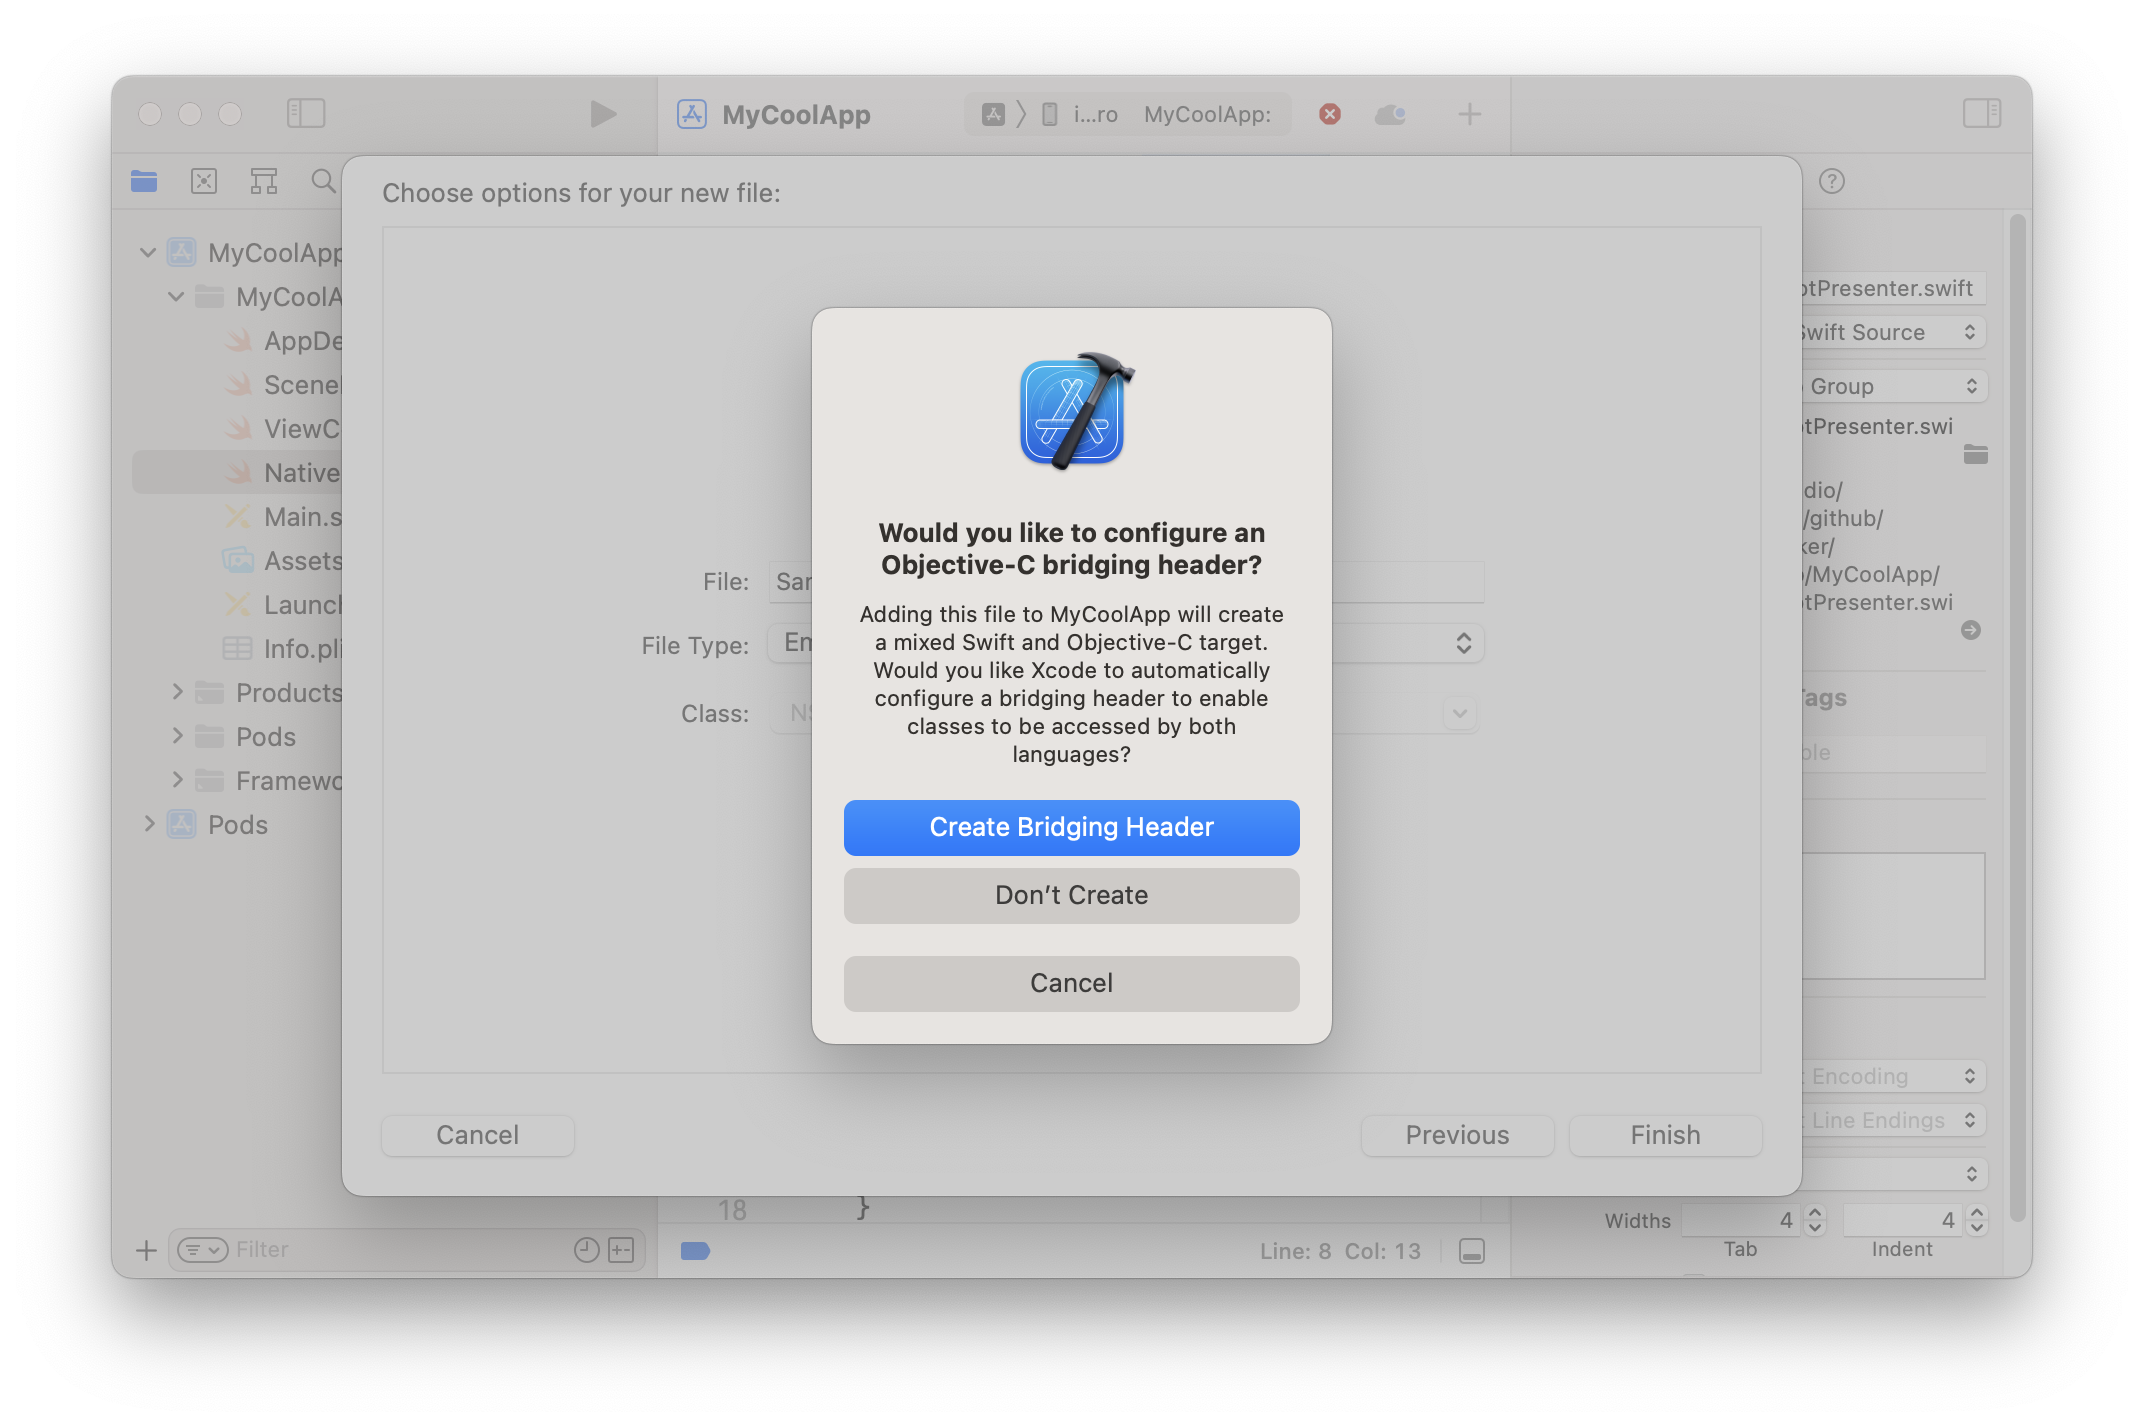
Xcode auto configures our project to use it when handling this way which is nice. You will now see our Sample.m file created:
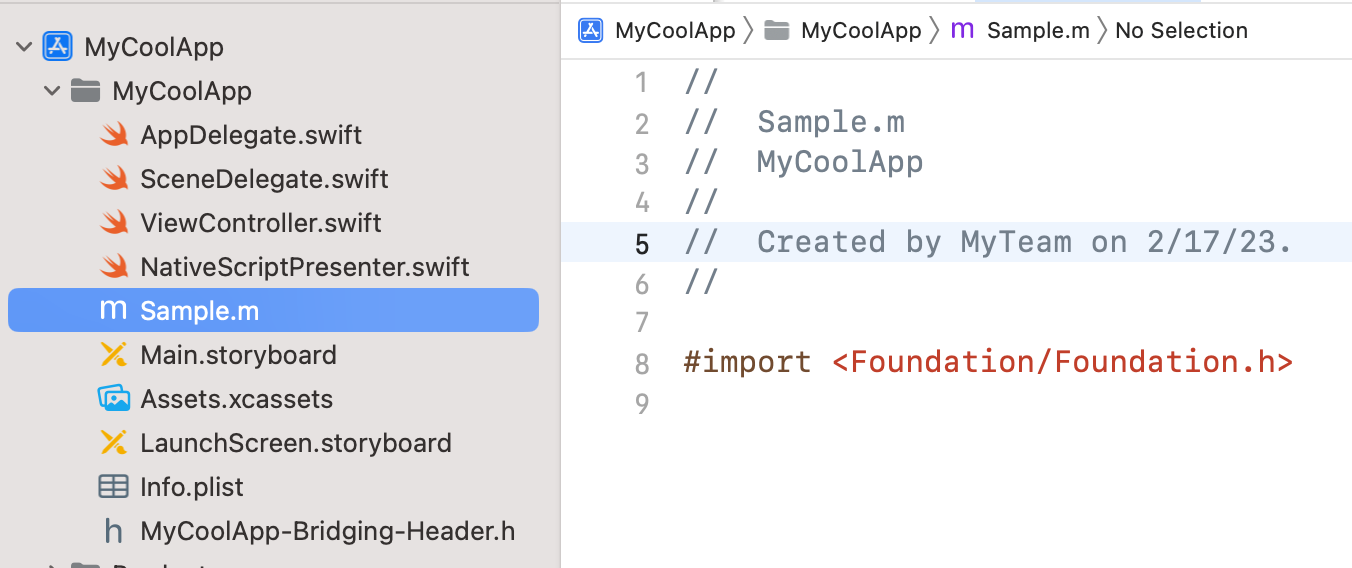
You'll also notice the MyCoolApp-Bridging-Header.h file it auto created which is all we want so we can simply delete Sample.m and just add NativeScript/NativeScript.h to it:

C. Configure any ViewController to use the SDK
We can now configure any of the iOS app's ViewController's to use NativeScript. Let's use the ViewController.swift file that Xcode created for us and swap the contents with the following:
import UIKit
import NativeScriptSDK

class ViewController: UIViewController {

  var nativeScriptPresenter: NativeScriptPresenter?

  override func viewDidLoad() {
    super.viewDidLoad()
    // setup the NativeScript presenter by providing it this ViewController
    // and using the presenter as the NativeScriptEmbedder's delegate
    nativeScriptPresenter = NativeScriptPresenter()
    nativeScriptPresenter?.vc = self
    NativeScriptEmbedder.sharedInstance().setDelegate(nativeScriptPresenter)

    // to demonstrate, we'll just add a simple button to open it
    let button = UIButton(type: .system)
    button.titleLabel?.font = UIFont(name: "Helvetica", size: 20)
    button.frame = CGRectMake(0, 0, 300, 50)
    button.center = self.view.center
    button.setTitle("Open NativeScript App", for: UIControl.State.normal)
    button.addTarget(self, action: #selector(self.openMyNativeScriptApp), for: UIControl.Event.touchUpInside)
    self.view.addSubview(button)
  }

  override func viewDidAppear(_ animated: Bool) {
    super.viewDidAppear(animated)
  }

  @IBAction func openMyNativeScriptApp(_ sender: Any) {
    self.setupNativeScript(appFolder: "app")
  }

  func setupNativeScript(appFolder: String?) {
    DispatchQueue.global(qos: .userInitiated).async {
      // init the NativeScript v8 instance on background thread
      let config = Config()
      config.logToSystemConsole = true
      config.baseDir = Bundle.main.resourcePath
      config.applicationPath = appFolder
      let ns = NativeScript(config: config)

      // run the NativeScript app on the ui thread
      DispatchQueue.main.async {
        ns?.runMainApplication();
      }
    }
  }
}
There's two implementation steps to allow the NativeScriptSDK to flourish in your iOS app:
- The SDK needs to know which ViewController to use to present the app. This is achieved by using the
NativeScriptEmbedder'ssetDelegatemethod allowing us to specify who's responsibility iOS will delegate that to:
nativeScriptPresenter = NativeScriptPresenter()
nativeScriptPresenter?.vc = self
NativeScriptEmbedder.sharedInstance().setDelegate(nativeScriptPresenter)
- Configure the v8 instance, and run the specified bundle with that configuration
We can configure v8 on a background thread to not interrupt any button tap handling that occurs on the UI thread to interact with NativeScript:
DispatchQueue.global(qos: .userInitiated).async {
  // init the NativeScript v8 instance
  let config = Config()
  config.logToSystemConsole = true
  config.baseDir = Bundle.main.resourcePath
  config.applicationPath = appFolder
  let ns = NativeScript(config: config)
The Config's applicationPath defaults to look for a folder named app. However you can override that by specifying your own folder name for one or many NativeScript bundled screens if you'd like -- see the example repo mentioned at the bottom of this post for an actual app configured to open 5 distinctually different NativeScript bundles.
We then run the app on the UI thread:
// run the NativeScript app
DispatchQueue.main.async {
  ns?.runMainApplication();
}
A call to runMainApplication will spring into action the NativeScriptEmbedder which will use it's configured delegate to invoke presentNativeScriptApp passing along the ViewController from the NativeScript app to your host app for displaying however you'd like.
We have now configured our iOS app to do some pretty neat things. All that's left is to embed some NativeScript.
4. Embed some NativeScript 🪄
This series uses some new improved capabilities which will be part of the forthcoming @nativescript/core 8.5 release.
You can try them now by configuring your app to use: "@nativescript/core": "next"
For this example, we'll just embed an entire vanilla (TypeScript based) NativeScript app:
ns create myapp --tsc
cd myapp

ns prepare ios
open platforms/ios
You should see a similar output as follows:
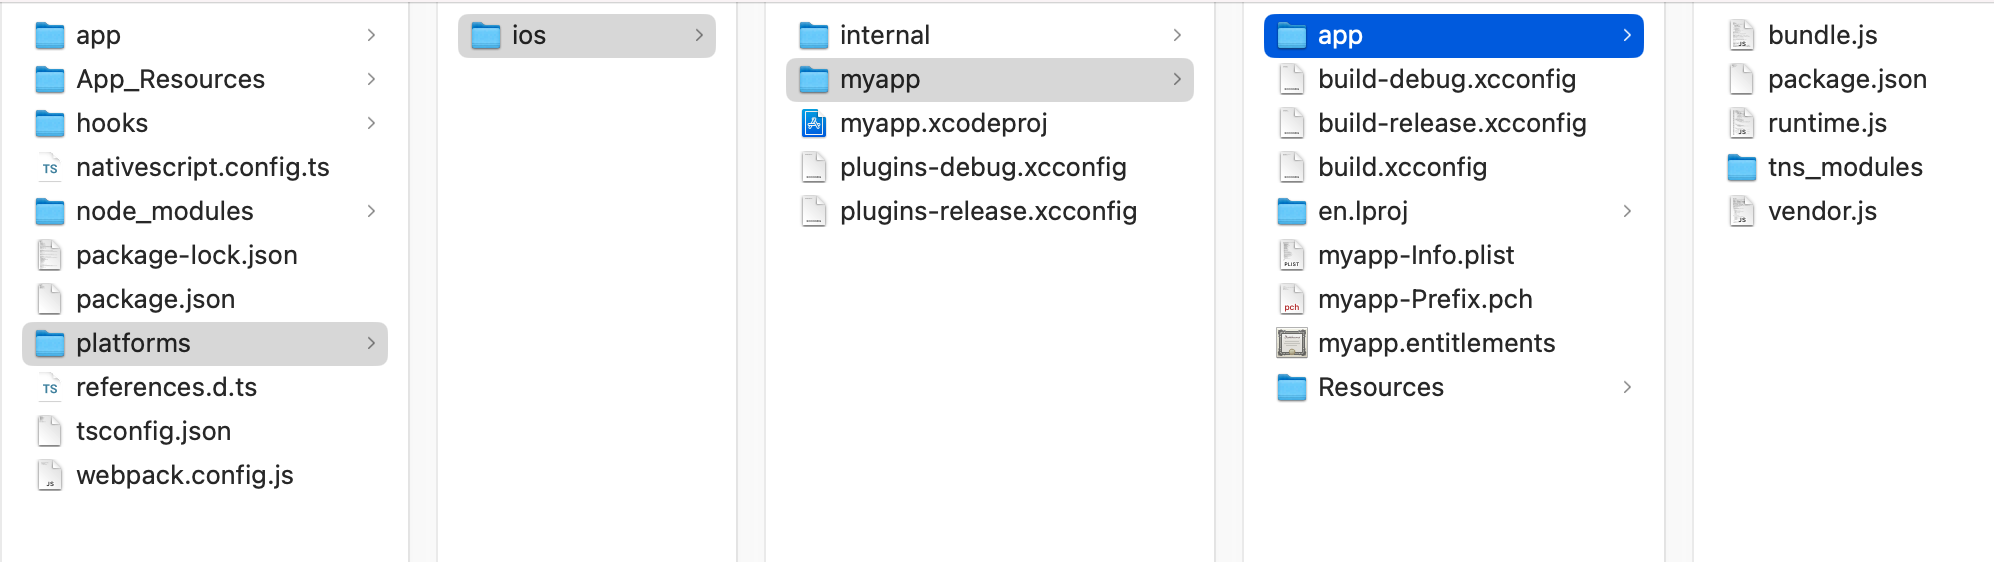
All the iOS app needs is the bundled .js code which is inside that app folder. That folder name can be renamed to anything you'd like to refer to it as when configuring NativeScript inside your iOS app. Let's just drag/drop that folder into the iOS app and be sure to choose copy items if needed:
NativeScript is Alive
Whether creating iOS apps with NativeScript from the ground up or mixing screens into large pre-existing Objective C/Swift apps with diversely talented teams, having these kind of options makes developing delightful.
Metadata considerations
In part 2 we will cover how to configure custom metadata when embedding large NativeScript apps which may have been built with many diverse third party plugins.
Versatile JavaScript engine?
Instead of running bundled .js code as an application, you can also use the SDK to simply invoke JavaScript on demand.
For example change this:
DispatchQueue.main.async {
  ns?.runMainApplication();
}
To this:
ns?.run("console.log('Hello all you good peoples!')", runLoop: false)

let jsStringExample = """
const stringReverse = str => str.split("").reverse().join("");

console.log(stringReverse("tpircSavaJ ot emocleW"));
"""
ns?.run(jsStringExample, runLoop: false)

let jsMathLogic = """
const pi = 3.14;

const surface = 4 * pi * 3390 * 3390;

console.log(`Surface area of Mars is: ${surface}`);
"""
ns?.run(jsMathLogic, runLoop: false)

let jsRandomHexColor = """
const hexColor = () => "#" + Math.floor(Math.random() * 0xffffff).toString(16).padEnd(6, '0');

console.log(`Random hex color: ${hexColor()}`);
"""
ns?.run(jsRandomHexColor, runLoop: false)

let jsDayDiff = """
const dayDif = (date1, date2) => Math.ceil(Math.abs(date1.getTime() - date2.getTime()) / 86400000);

dayDif(new Date("2023-02-14"), new Date("2023-02-16"));
"""
ns?.run(jsDayDiff, runLoop: false)

let jsArrays = """
const average = arr => arr.reduce((a, b) => a + b) / arr.length;

console.log(`Average is: ${average([21, 56, 23, 122, 67])}`);
"""
ns?.run(jsArrays, runLoop: false)

let jsUsingNativeScript = """
console.log(UIApplication.sharedApplication);
"""
ns?.run(jsUsingNativeScript, runLoop: false)

// As expected, any UI related tasks should happen on main thread
// For example, constructing a platform alert and displaying it...
// ...using NativeScript alone.
DispatchQueue.main.async {
  let jsUsingNativeScriptAlert = """
  const alertController = UIAlertController.alertControllerWithTitleMessagePreferredStyle('Oh Hi!', `Well this is interesting isn't it?`, UIAlertControllerStyle.Alert);
  alertController.addAction(
      UIAlertAction.actionWithTitleStyleHandler('Yes, it sure is.', UIAlertActionStyle.Default, () => {
          console.log('alert dismissed.');
      })
  );
  const viewController = UIApplication.sharedApplication.keyWindow.rootViewController;
  viewController.presentModalViewControllerAnimated(alertController, true);
  """
  ns?.run(jsUsingNativeScriptAlert, runLoop: false)
}
Now when you run that, you would see the following output in Xcode and on the device:
Example Repo
You can clone this example repo to try a fully working example.
A few topics we'd like to explore in the future:
- Embed NativeScript with custom iOS metadata
- Embed NativeScript into an existing Android app
- Embed NativeScript with custom Android metadata
- Embed NativeScript impact analysis, size and summary
Need Professional Help?
Azbouki Software opened in 2019 specializing in NativeScript runtime development, custom features and developer tooling. If you're needing assistance on feature development, performance optimization or specialized use cases, please reach out anytime.