Building the NativeScript Swipe Cards Plugins: An Ambassador Story
Learn about how two ambassadors built two plugins for swipeable cards!
1- Introducing Team Native Baguette
Team Native Baguette is one of several NativeScript Ambassador teams in the 2017 Summer Cohort. In this article, team members Rachid Al-Khayyat and Jean-Baptiste Aniel discuss the process that went into building their swipe card plugins - the first projects published by an Ambassador team!
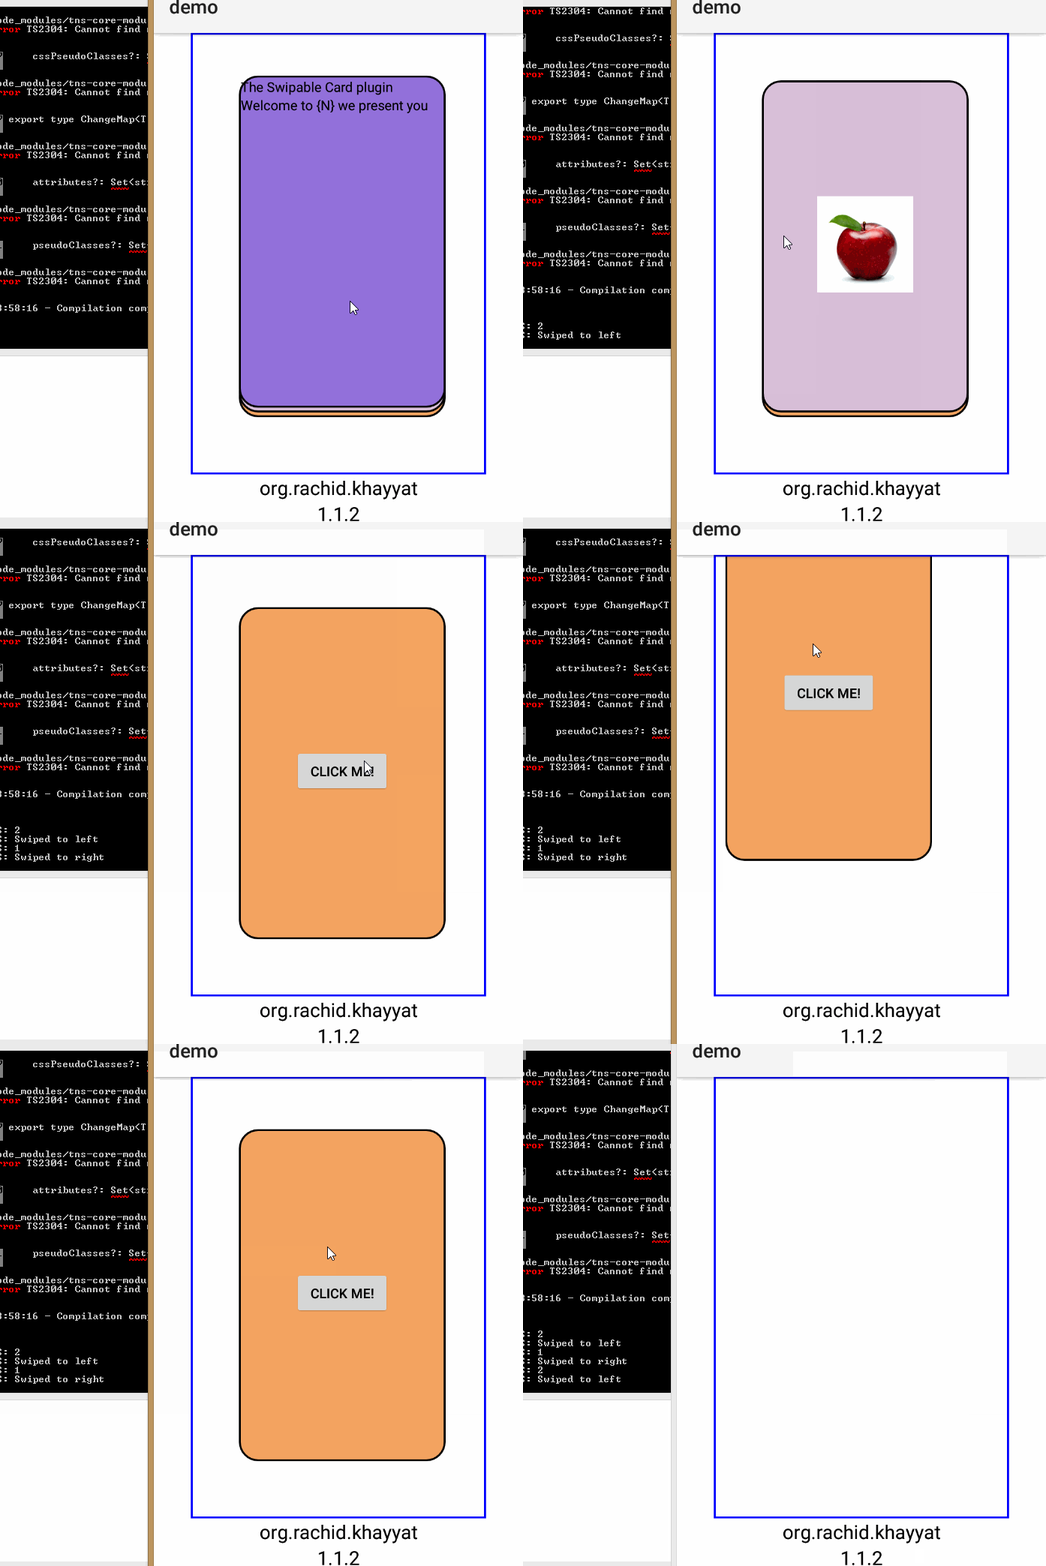
Rachid: Early this year I was building an application powered by Nativescript for aiding refugees in France, and I needed a stack of swipeable cards to show some phrases in dual languages. I looked through the official source for nativescript plugins, but sadly couldn't find what I needed. Later I found an article that explain how to build a simple one, but the code was not a plugin. I started on the card plugin even before becoming an Ambassador, eventually joining the team mentored by Brad Martin and Osei Fortune and partnering with Jean-Baptiste Aniel. We decided to name our team Native Baguette, since Jean-Baptiste and I both live in France. My idea was to build a container that holds a stack of cards of type (layout), leaving it up to the consumer to build and design the different cards and assign them to the plugin through an array of type layout.
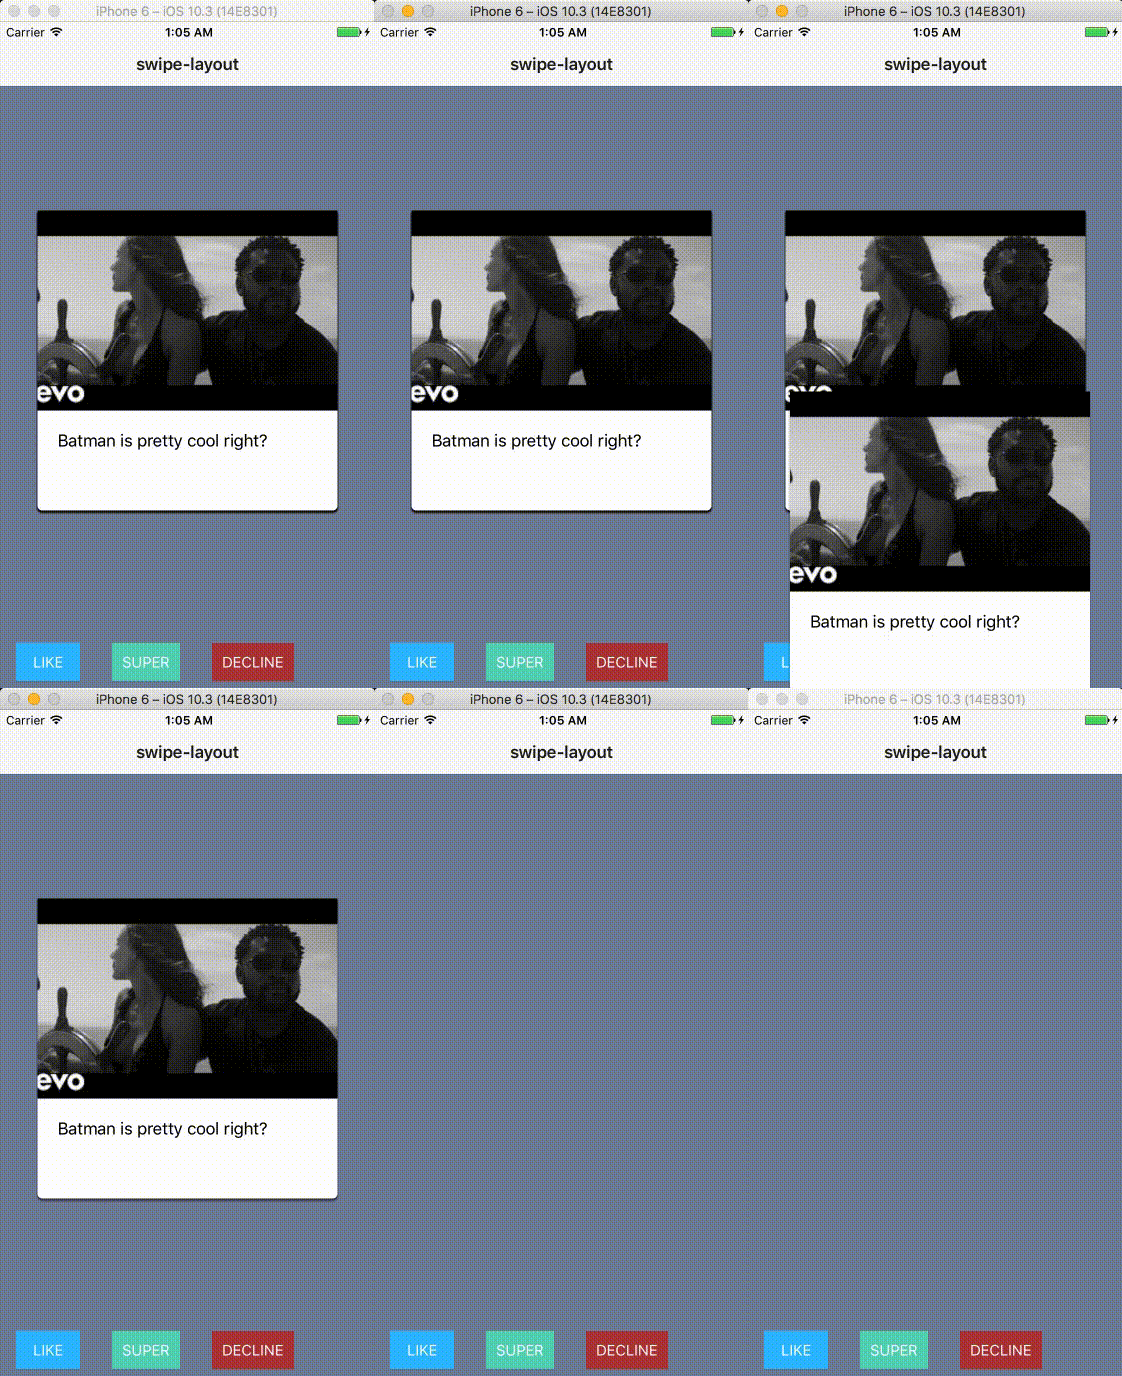
Jean-Baptiste: The way I imagined this plugin was a little different. I didn’t see it as only a Tinder-like swipe card plugin. I imagined it as a simple container which help you to handle swipe events, swipe animations and drag gestures easily but with as much customisation as possible. So with this version of the plugin you will be able to do a Tinder like app, but you will also be able to build anything that your heart desires.
We decided to build two separate plugins while working together to improve each other's’ use cases.
2- Building the plugins
The best practice to start building a nativescript plugin is by using the official plugin seed. This seed gives you a solid setup and everything we need in order to publish our plugin is made easy. So this is where we started.
3- Rachid’s Swipe Cards Plugin

As mentioned earlier, the idea is to build a container that holds a stack of cards of type (layout), and it is up to the consumer to build and design the different cards then assign them to the plugin through an array of type layout.
Fun fact! Team Time-Travel (Luna Kang, Stefan Medjo and mentor Jen Looper used Rachid's swipe cards plugin to complete their 'Fetching' app - a Tinder app for dogs that uses the Petfinder API to help dogs to find puppy playdates in their area!
In order to drag and drop cards I decided to replace the Swipe gesture by Pan gesture, based on this excellent article’s recommendations.
The Pan Gesture will return the state of the panning, where:
args.state === 1 (finger is pressed down)
args.state === 2 (finger is pressed and moving)
args.state === 3 (finger is up).

layout.on(GestureTypes.pan, (args: PanGestureEventData) => {
           if (args.state === 1) // down
           {
               prevDeltaX = 0;
               prevDeltaY = 0;
           }
           else if (args.state === 2) { // currently panning
               layout.translateX += args.deltaX - prevDeltaX;
               layout.translateY += args.deltaY - prevDeltaY;
               prevDeltaX = args.deltaX;
               prevDeltaY = args.deltaY;
           }
}
The above code will let the card follow the finger/mouse since it is pressed down and moving.
When the finger is released up (args.state === 3), the code should decide whether to swipe the card away (left or right correspondingly) or swipe back to its original place. The principle is if 50% of the card’s width off the container’s edge, the card will be swiped away left or right depending on its position, otherwise it will bounce back.
public static swipeEvent:string = 'swipeEvent';

//. ...
else if (args.state === 3) // up
{
let currLocationX =
layout.getLocationOnScreen().x-(screen.mainScreen.widthDIPs-layout.width)/2;
let isToLeft:boolean;
let swipeX:number;
if (currLocationX<0) {
currLocationX = currLocationX*(-1);
isToLeft = true;
}
let shiftX = (containerWidth*screen.mainScreen.widthDIPs) - currLocationX;
let movPerc = shiftX/(containerWidth*screen.mainScreen.widthDIPs);
   if (movPerc < 0.5)  {
       if (isToLeft) {
          swipeX = -2000;
       }
       else {
          swipeX = 2000;
         }
       layout.animate({
                       translate: {
                           x:swipeX,
                           y:0
                       },
                       duration: 500
                   });
               } else {
                   layout.animate({
                       translate: {
                           x:0,
                           y:0
                       },
                       duration: 200
                   });
               }
It is good to have the plugin notify the consumer whenever the card is swiped to left or right. This can be done using this.notify, which will send a notification to the Class SwipeEvent. This way the consumer can hook a customized callback function to be executed when the card is swiped away.
export class SwipeEvent {
   eventName: string;
   object: any;
   direction:number

// …
If (movPerc < 0.5)  {
                    let eventData:SwipeEvent = {
                        eventName: SwipeCard.swipeEvent,
                        object: this,
                        direction:isToLeft?2:1
                    }
                    if (isToLeft) {
                        swipeX = -2000;
                        this.notify(eventData);

                    }
                    else {
                        swipeX = 2000;
                        this.notify(eventData);
                    }
}
The consumer can listen to the swipeEvent as shown:
 swipeCard.on("swipeEvent", (args:SwipeEvent) => {
        console.log(args.direction);
        if (args.direction === 1) {
                    //right
                    console.log('Swiped to right');
        } else {
                    //left
                    console.log('Swiped to left');
        }
    });
The plugin has been tested successfully for both plain and Angular Nativescript. All instructions for installation and using can be found on my github repo: https://github.com/rkhayyat/nativescript-swipe-card
4- Jean-Baptiste’s Swipe Layout Plugin
Jean-Baptiste: While this is a different version of the plugin, a lot of the core code is the same. Since we both handle swipe gestures, I won’t talk much about the core but more about the differences we have between the plugins.

This plugin has been published at https://github.com/rhanb/nativescript-swipe-layout/
One of the main differences is that `SwipeLayout` extends `ContentView` which means that the `View` generated by `SwipeLayout` won’t have any `layout` characteristics.
That means that you can put anything inside the `SwipeLayout`; it won’t interfere with the children. For example if you want to build a Tinder like app, one solution would be to use an AbsoluteLayout to be able to reproduce the “stack” effect.
Another difference is the way to bind the swipe events between the view and the JS/TS/NG part. In this plugin you will have 4 events to bind to:
-
swipeLeft
-
swipeRight
-
swipeUp
-
swipeDown
Like this in Angular for example:
<SwipeLayout height="300" width="300" row="0" colSpan="3" col="0" (loaded)="tabLoaded($event)" (swipeLeft)="swipeLeft($event)"
       (swipeRight)="swipeRight($event)" (swipeDown)="swipeDown($event)" (swipeUp)="swipeUp($event)">
   </SwipeLayout>
You will be able to trigger any of those events or not, none are required.
The second difference is that you will be able to change animations, enable them or not.
You will have one property called `animation_state` which will be an enum called `ANIMATION_STATE` which will default to `ALWAYS`:
export enum ANIMATION_STATE {
   ALWAYS, // Will always animate on swipes event
   ON_EVENTS, // Will animate on swipes event listened on the app side
   NEVER // Will never animate on swipes event
}
As I’m sure you guessed, setting your property `animation_state` to `ANIMATION_STATE.ALWAYS` will animate your view on every swipe events.
But if you set it to `ANIMATION_STATE.ON_EVENTS` you view will be animated on swipe events with set callbacks.
For example:
<SwipeLayout height="300" width="300" row="0" colSpan="3" col="0" (loaded)="tabLoaded($event)" (swipeLeft)="swipeLeft($event)"
       (swipeRight)="swipeRight($event)"  [animated]=”myAnimationState”> // with myAnimationState set to ANIMATION_STATE.ON_EVENTS
</SwipeLayout>
The view will be animated only on the right and left swipe events.
And setting your property `animated` to `ANIMATION_STATE.NEVER` will stop your view from being animated.
The third property called `gestureMode` enable the consumer to choose between two modes:
export enum GESTURE_MODE {
   DRAG, // Will allow to drag layout
   SWIPE // Will animate on swipe events
}
The DRAG mode will enable the user to drag the layout, but swipe events will still be fired and animated. On the other hand, the SWIPE mode won’t enable the user to drag the layout. The main difference is the way the events are fired: on SWIPE mode it will be fired through a `swipe listener` while the DRAG mode swipe events will be fired through a `pan listener`.
The last difference goes with the animations customisations. Because all the animations will be public functions in the package, which means that you will be able to overridehem:
-
animateSwipeLeft
-
animateSwipeRight
-
animateSwipeUp
-
animateSwipeDown
5- Conclusion
We found out that building plugins for Nativescript is not as hard as we thought. It is really fun and easy, once we got the basics. Our learning curve went smooth and fast, and we also benefited a lot from a great course by Nathan Walker, so during a short period (two months) and within very limited time, we managed to build two different swipe card plugin concepts instead of one.
We enjoyed our short experiment with the NativeScript Ambassador program, which is definitely not going to be the last one.