Get creative with app launch animations using Angular 10 with new boot options
NativeScript for Angular 10 includes new boot options to easily add launch animations to your app.
Along with Angular 10 support, we introduced proper APP_INITIALIZER support with NativeScript alongside new boot options that we want to show off here. The new options are: async, launchView and backgroundColor which can be specified when bootstrapping your app.
First let's recap how to use Angular's APP_INITIALIZER to handle async tasks during boot of your app:
APP_INITIALIZER and async boot option
// can be used in any app.module:
import { NgModule, APP_INITIALIZER } from '@angular/core';

export function asyncBoot(): Function {
  return (): Promise<any> => new Promise(resolve => {
    setTimeout(() => {
      resolve();
    }, 5000);
  })
}

@NgModule({
  imports: [NativeScriptModule],
  declarations: [AppComponent],
  bootstrap: [AppComponent],
  providers: [
    {
      provide: APP_INITIALIZER,
      useFactory: asyncBoot,
      multi: true
    },
  ]
})
export class AppModule {}

// when using async app initialization, be sure to set the `async` boot option in `main.ts` like this:
platformNativeScriptDynamic({
  async: true
}).bootstrapModule(AppModule);
For example, you could inject HttpClient into the asyncBoot factory function to handle various api calls if needed prior to booting your app for example.
Creative Launch Animations

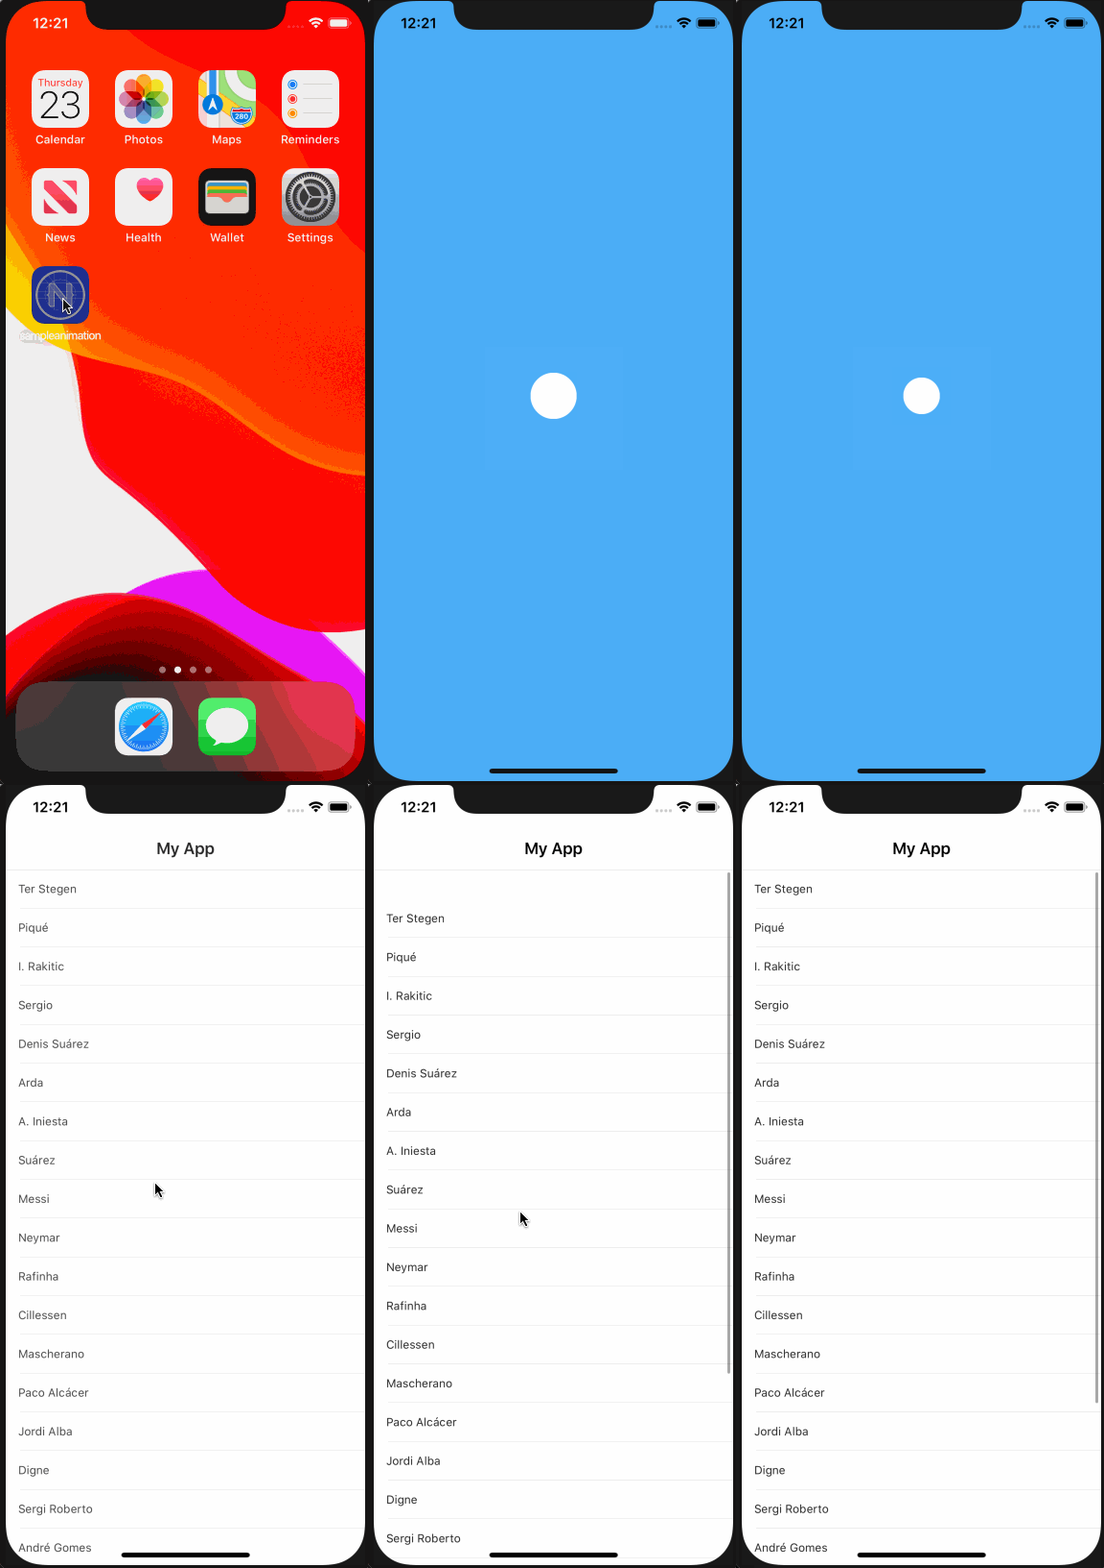
You can create a multitude of animated launch screens using standard NativeScript api's but here's the exact animated launch screen seen in the animated gif and how to use them with the new launchView boot option:
import {
  platformNativeScriptDynamic,
  AppLaunchView,
} from "@nativescript/angular";
import { GridLayout } from "@nativescript/core";
import { AppModule } from "./app/app.module";

class LaunchAnimation extends GridLayout implements AppLaunchView {
  circle: GridLayout;
  finished = false;
  complete: () => void;

  constructor() {
    super();
    this.backgroundColor = "#4caef7";
    this.className = "w-full h-full";

    // construct any creative animation
    this.circle = new GridLayout();
    this.circle.width = 30;
    this.circle.height = 30;
    this.circle.borderRadius = 15;
    this.circle.horizontalAlignment = "center";
    this.circle.verticalAlignment = "middle";
    this.circle.backgroundColor = "#fff";

    this.addChild(this.circle);
  }

  async startAnimation() {
    await this.circle.animate({
      scale: { x: 2, y: 2 },
      duration: 800,
    });

    await this.circle.animate({
      scale: { x: 1, y: 1 },
      duration: 800,
    });

    if (this.finished) {
      await this.circle.animate({
        scale: { x: 30, y: 30 },
        duration: 400,
      });
      this.fadeOut();
    } else {
      // keep looping
      this.startAnimation();
    }
  }

  cleanup() {
    return new Promise((resolve) => {
      this.complete = resolve;
      this.finished = true;
    });
  }

  async fadeOut() {
    await this.animate({
      opacity: 0,
      duration: 400,
    });
    this.complete();
  }
}

platformNativeScriptDynamic({
  launchView: new LaunchAnimation()
}).bootstrapModule(AppModule);
Custom backgroundColor useful when using just async alone
If you've always wanted more control over the backgroundColor of your app when it first boots you can alternatively just set the backgroundColor there like so:
platformNativeScriptDynamic({
  backgroundColor: 'purple'
}).bootstrapModule(AppModule);
That is particularly useful when using alongside async APP_INITIALIZER since you probably don't want the user sitting on a blank white screen while your app asynchronously prepares itself on bootstrap (which can happen after the splash screen goes away and your app may still be asynchronously initializing when using Angular's APP_INITIALIZER token with async handling).
Taking it further! Spice up that launch screen with Lottie
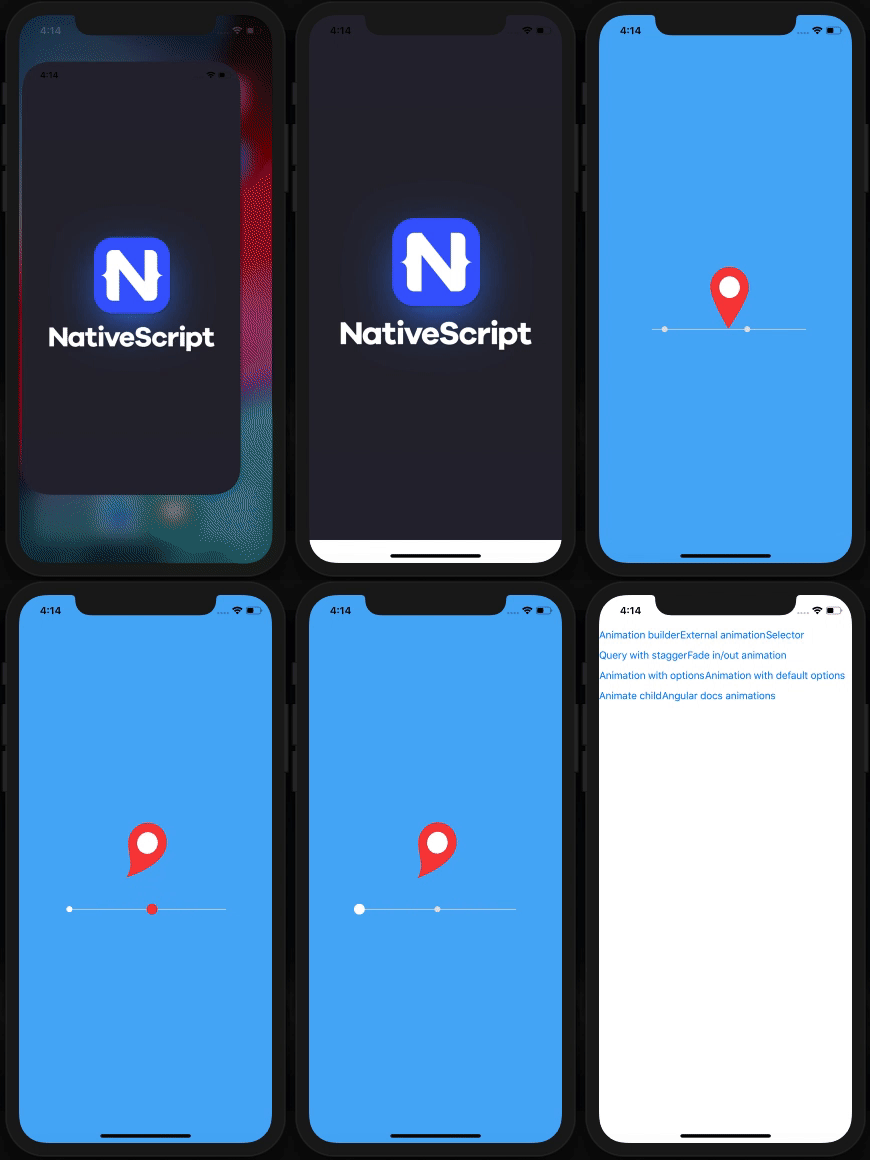
The new launchView option can also be used in conjunction with Lottie, giving us more flexibility with the animation. If you haven't heard of Lottie before, Lottie is an animation library created by airbnb which lets you create beautiful animations using a json file exported from Adobe After Effects. We can use this in our Nativescript application using Brad Martin's nativescript-lottie plugin. The plugin also has a couple of sample effects which I'll be using in this post. Here is a link to it in case you want to try it out.

Lottie Setup
We will first need to add the nativescript-lottie plugin to our project using the following command and import it in our main.ts where we will be adding our animation code.
ns plugin add nativescript-lottie
LaunchAnimation Setup
We'll extend the GridLayout here so we can layer and position elements easily. Let's first stub out the methods that we will be using along with what each method will be doing.
class LaunchAnimation extends GridLayout implements AppLaunchView {

  constructor() {
    super();
    // define our layout, containers, and UI elements
  }

  startAnimation(): void {
    // start and stop animation
  }

  cleanup(): Promise<any> {
    // set flag to stop animation
    // returns a promise to provide further control over resolving when your animation is completely finished
  }

}
Defining the animation
The src propery of the LottieView points to a lottie json file which is located in app/App_Resources/iOS for ios and app/App_Resources/Android/src/main/assets for Android.
import { LottieView } from 'nativescript-lottie';

class LaunchAnimation extends GridLayout implements AppLaunchView {
  lottieView: LottieView;
  complete: () => void;

  constructor() {
    super();
    this.backgroundColor = '#4caef7';
    this.className = 'w-full h-full';

    // setup lottie
    this.lottieView = new LottieView();
    this.lottieView.height = 300;
    this.lottieView.width = 300;
    this.lottieView.src = 'lottie/pinjump.json';

    // add lottieview to container
    this.addChild(this.lottieView);
  }
}
Start and Stop Animation
As mentioned earlier, we will be using the startAnimation() method to play the animation and use cleanup() to trigger the animation to stop. We'll also add a fadeOut() method to transition from the animation to the first page of the application.
In order to end the animation gracefully, we will add a finished flag which will be set to true when cleanup() is called signaling the animation to stop after it completes the current cycle. This flag is then used in our startAnimation() method where we have the lottieView.completionBlock checking this flag and either calling startAnimation() again if finished is false, replaying the animation, or fadeOut() if finished is true, ending the animation, followed by fading out the LaunchAnimation and transitioning to the main page of our application.
class LaunchAnimation extends GridLayout implements AppLaunchView {
  lottieView: LottieView;
  finished = false;
  complete: () => void;

  constructor() {
    super();
    this.backgroundColor = '#4caef7';
    this.className = 'w-full h-full';

    // setup lottie
    this.lottieView = new LottieView();
    this.lottieView.height = 300;
    this.lottieView.width = 300;
    this.lottieView.src = 'lottie/pinjump.json';

    // add lottieview to container
    this.addChild(this.lottieView);
  }

  startAnimation() {
    this.lottieView.completionBlock = () => this.finished ? this.fadeOut() : this.startAnimation();
    this.lottieView.playAnimation();
  }

  cleanup() {
    return new Promise(resolve => {
      this.complete = resolve;
      this.finished = true;
    });
  }

  async fadeOut() {
    await this.animate({
      opacity: 0,
      duration: 400,
    });

    this.complete();
  }
}
Now that we have our LaunchAnimation setup, we can define our launchView option on boostrap:
platformNativeScriptDynamic({
  launchView: new LaunchAnimation(),
}).bootstrapModule(AppModule);